When starting any project, we all see the importance of knowing the characteristics of the topographic surface before beginning work on an architectural or engineering plan.
One of the first steps to follow before we can start designing a new building is knowing these constraints and, for that, we must conduct a topographical study. Once that is done, we will be able to know the physical and morphological features of the surface of our area. However, since we have begun working with BIM tools, we need to integrate some of this information of our Revit model in order to better visualize our surface. For that, the software provides the “topo surface” tool for us to use.
Once we completed the topographical study, we will have created a new database about our topography, which we must somehow import into our model. Revit offers us three ways -which you can apply through all Revit templates– to do that: selecting points and specifying their elevations (point insertion), importing data from a 3D file, or importing a points file.

How to create topographic surfaces in Revit
Points insertion
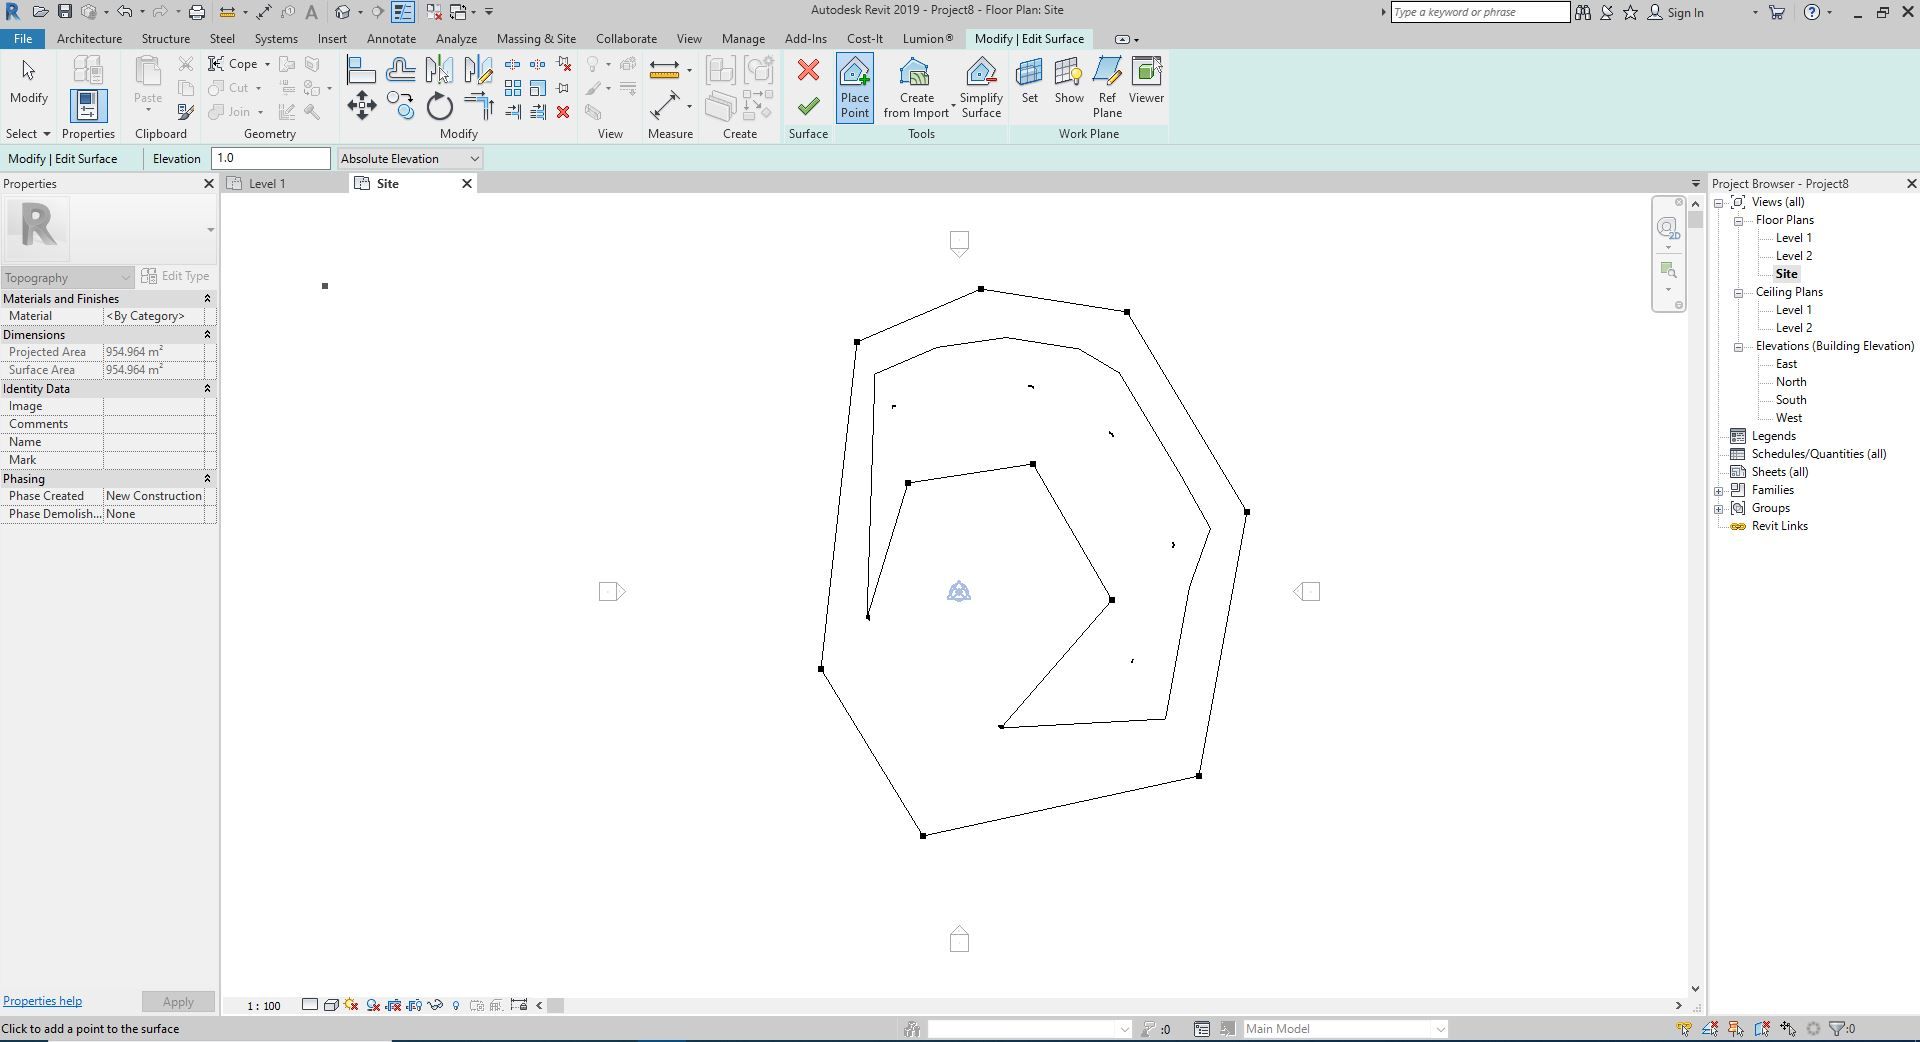
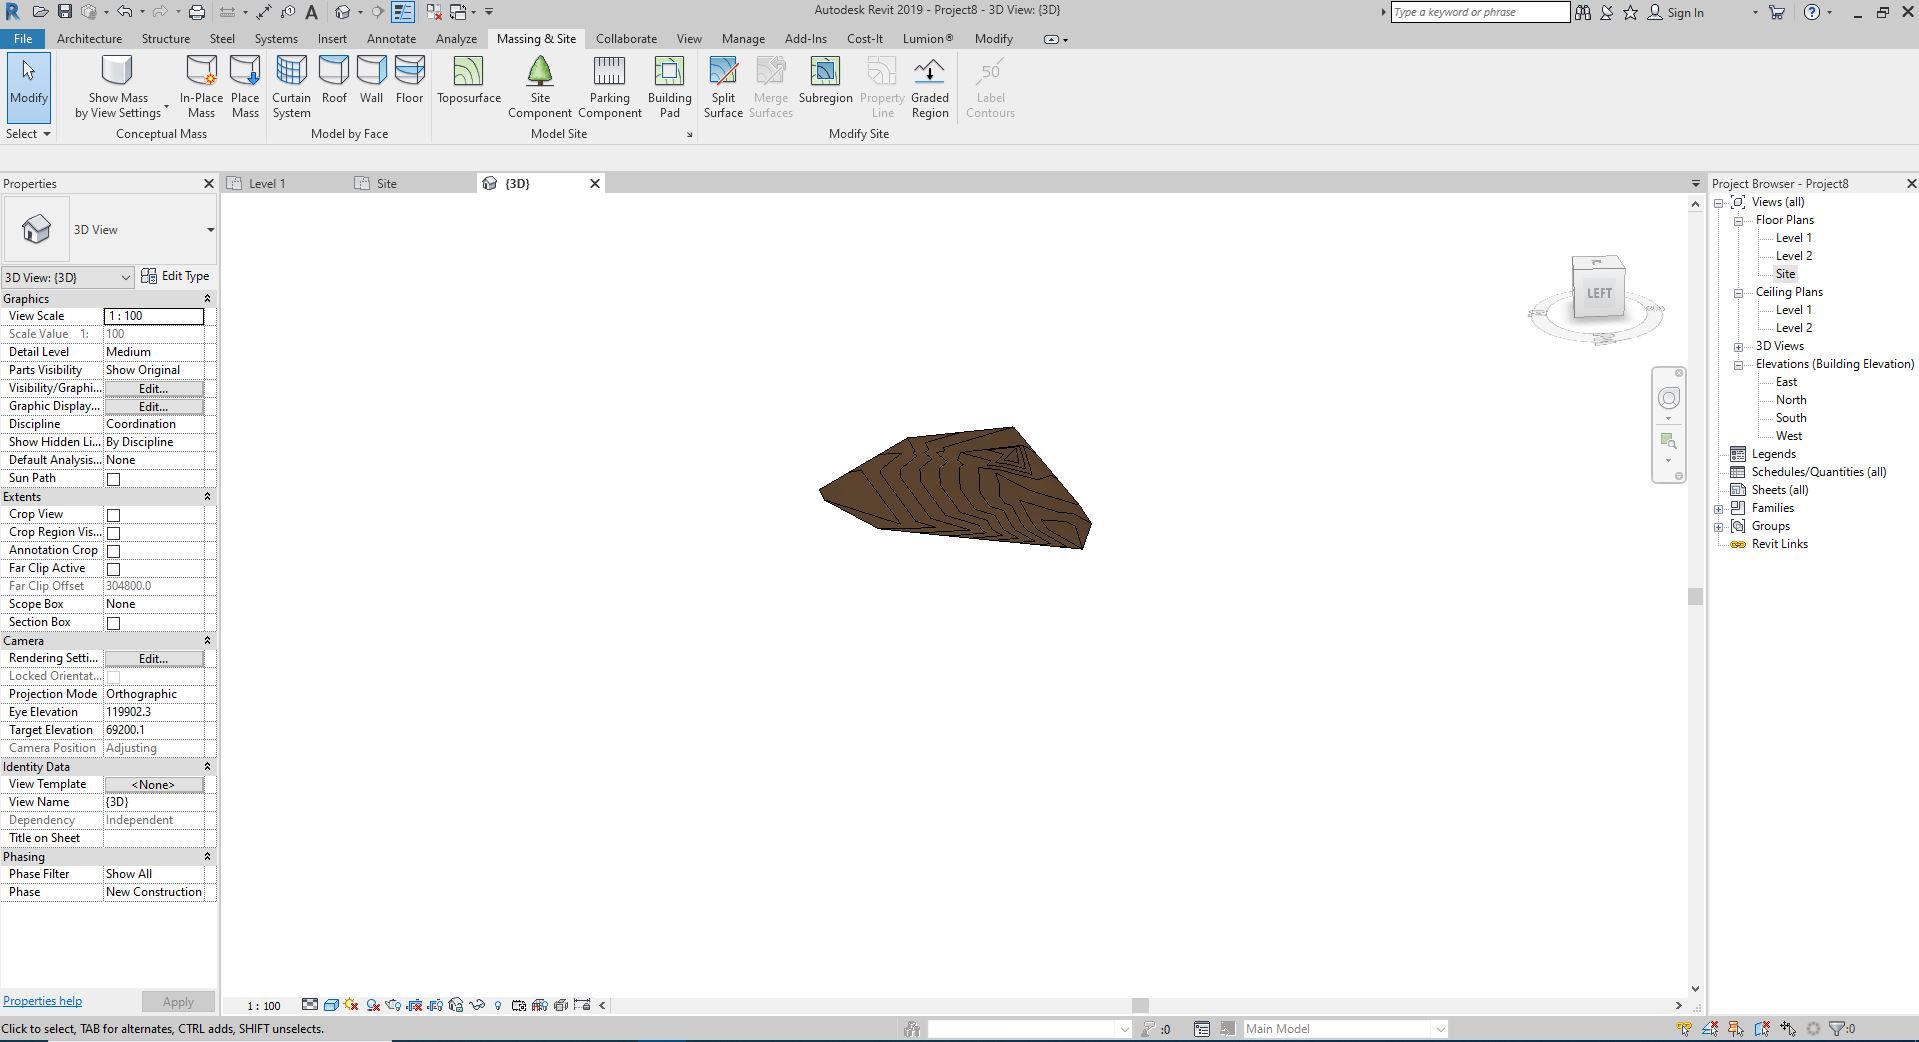
Out of the three alternatives the software provides, this is probably the most utilized, and at the same time, the most inaccurate. We could say that it is a manual way to perform the insertion of a point. To model a topographic surface with manual points insertion, we must first go to the “Massing & Site” tab. Once there, we will find a tool called “Toposurface” in the set of site modeling tools. If we click on it, a menu will open in which we can select the way we want to insert data; by default, the option “Place Point” will be selected. With this activity, we will need to insert one by each and every point in our model. When we insert them, we will need to manage the elevation for each one. Finally, once they have all been placed, we can notice how the program joins all of them, automatically generating surface and contours.
Due to how view ranges are set up, if we decide to use this method, it is recommended to increase the elevation of the surface in the General Planimetry view.
Importing the surface from a 3D file
This second alternative is way faster if we have a 3D file with the surface already modeled. What we need to do first is link this external file. Once that is done, we will use the same tool as before: Toposurface. In the following menu, we will have to select the “Create from Import” option. Then, we can select the linked file, as well as the layers we need to connect, and our topography will be ready.
Importing a points file
It is essential, to be able to use this last method of topographic surface creation, to have a .txt or .csv file with all the points of our surface. The steps to follow are the same as in the previous case but, this time, instead of creating our surface from an imported file, we will select the “Specify Points File” option. The file selection menu will appear on our computer, and simply selecting and accepting the surface, we will import it and generate it. Beyond the surface creation tools, Revit provides us editing tools such as division, surfaces fusion, or leveled regions.
Daniel Mercer is a Coffee Break section editor at Arch2O, currently based in Berlin, Germany. With a background in architectural history and design journalism, Daniel holds a Master’s degree from the University of Edinburgh, where he focused on modern architecture and urban theory. His editorial work blends academic depth with a strong grasp of contemporary design culture. Daniel has contributed to several respected architecture publications and is known for his sharp critique and narrative-driven features. At Arch2O, he highlights innovative architectural projects from Europe and around the world, with particular interest in adaptive reuse, public infrastructure, and the evolving role of technology in the built environment.