Many, if not all architects and buildings designers, do not have a clear, predefined idea about which shape the project they are working on will end up having. Furthermore, quite often there can be a preconceived idea about the morphology of a new project, but that first draft changes into something radically different in the final project. This kind of situation has been commonplace throughout pretty much the entire history of architecture and, surely, they will keep arising.
We know that a very deep technological evolution has been happening in the current engineering and architecture environments. We find ourselves in a time of change between the making of projects with 2D computerized technologies and the new work methodology known as BIM. Thanks to the emergence of this new way to make projects, we have very technologically advanced software that allows us to achieve an easier and closer-to-reality vision and conception of our project, compared to the tools that have been used so far.
We know the Revit software; we know about its advancements, what it brings to the projection of buildings, and how its templates are specific to each discipline. However, maybe we do not know about the tool that allows us to realize that first outline of our new building: The Conceptual Mass. This utility allows us to create objects in a fast and easy way, with the goal of obtaining an abstract object through which we will be able to conceptualize a project. Thanks to conceptual masses, we can have a much closer idea of which shape our construction will have.
How do you create a conceptual mass in Revit?
Once we get to know the tool and its usefulness, it’s important to know how it’s built and in which way we can work on it and shape it. For that, in the main viewport of the program, we can find conceptual masses in the “Massing & Site” panel. Once we are there, we can insert default masses with “Place Mass”, or we can model our own masses with “In-Place Mass”. The default masses are ones we can find in Revit’s families library or in any of our own families library if any has been generated previously.
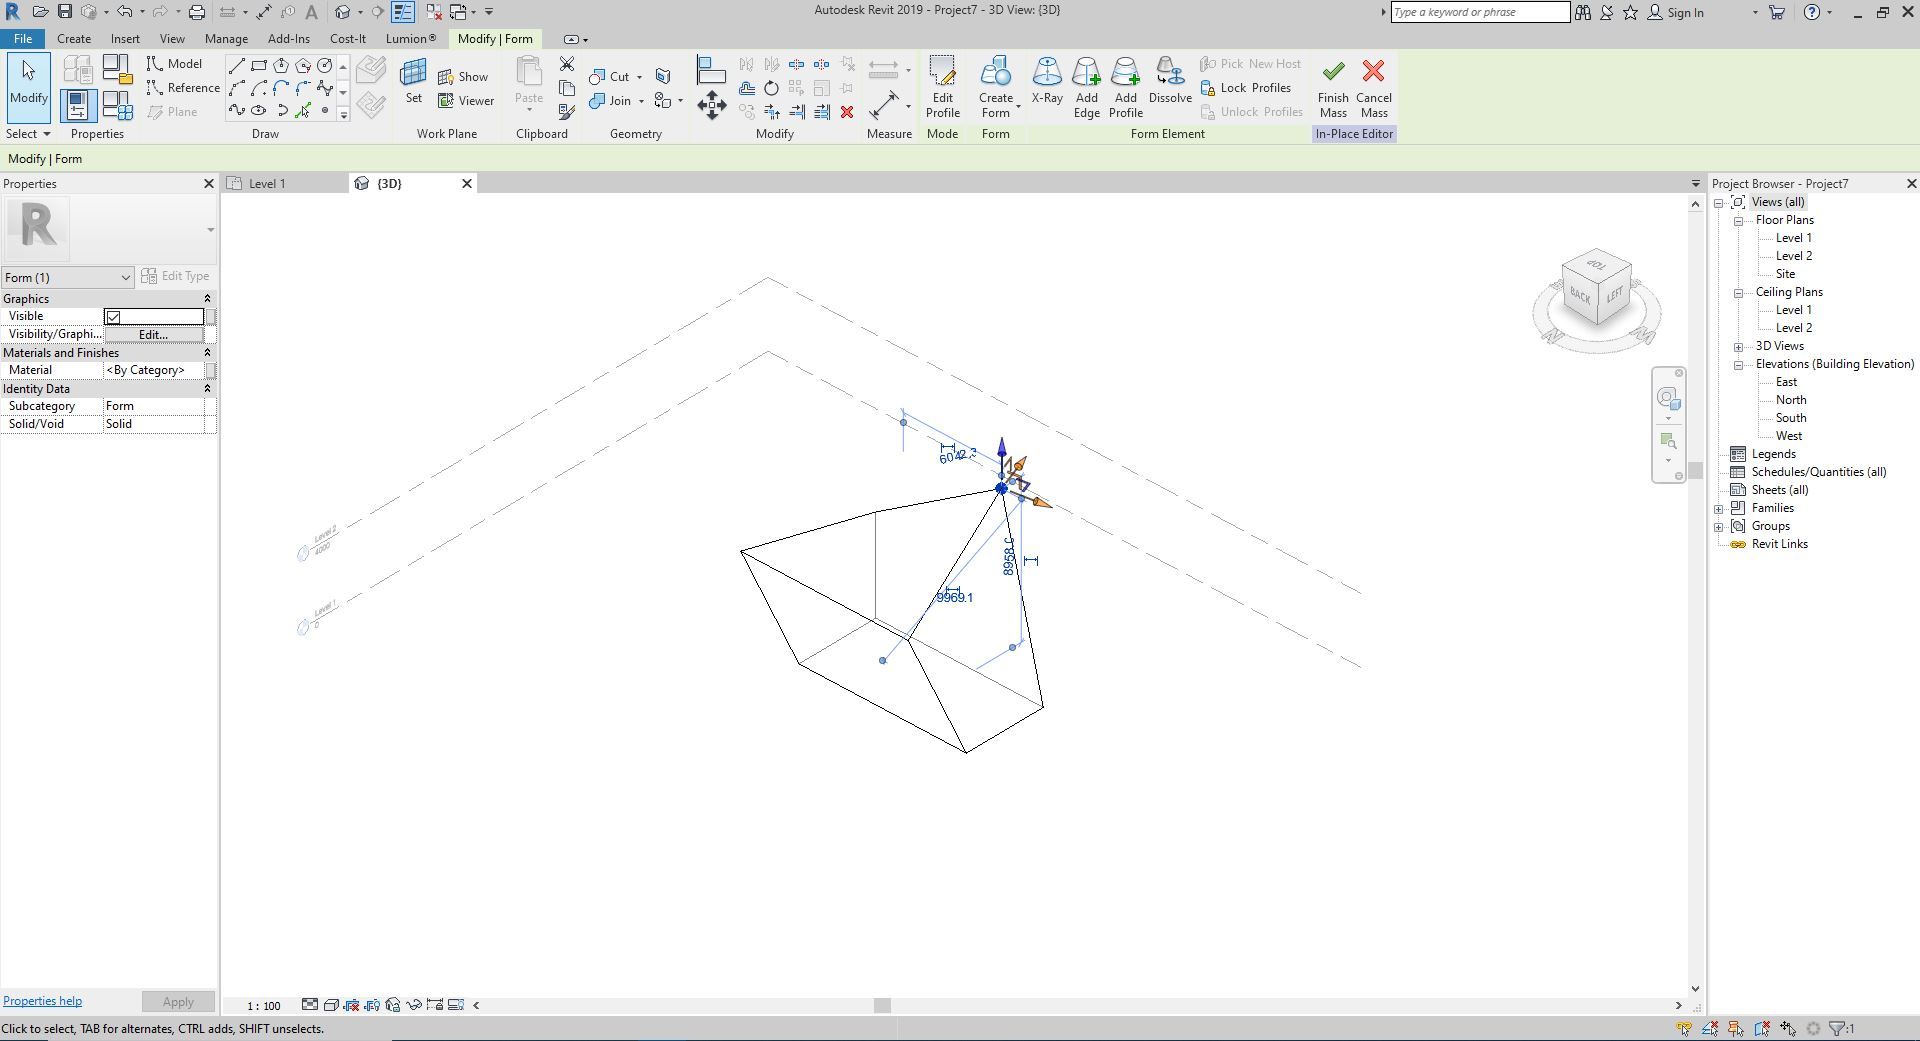
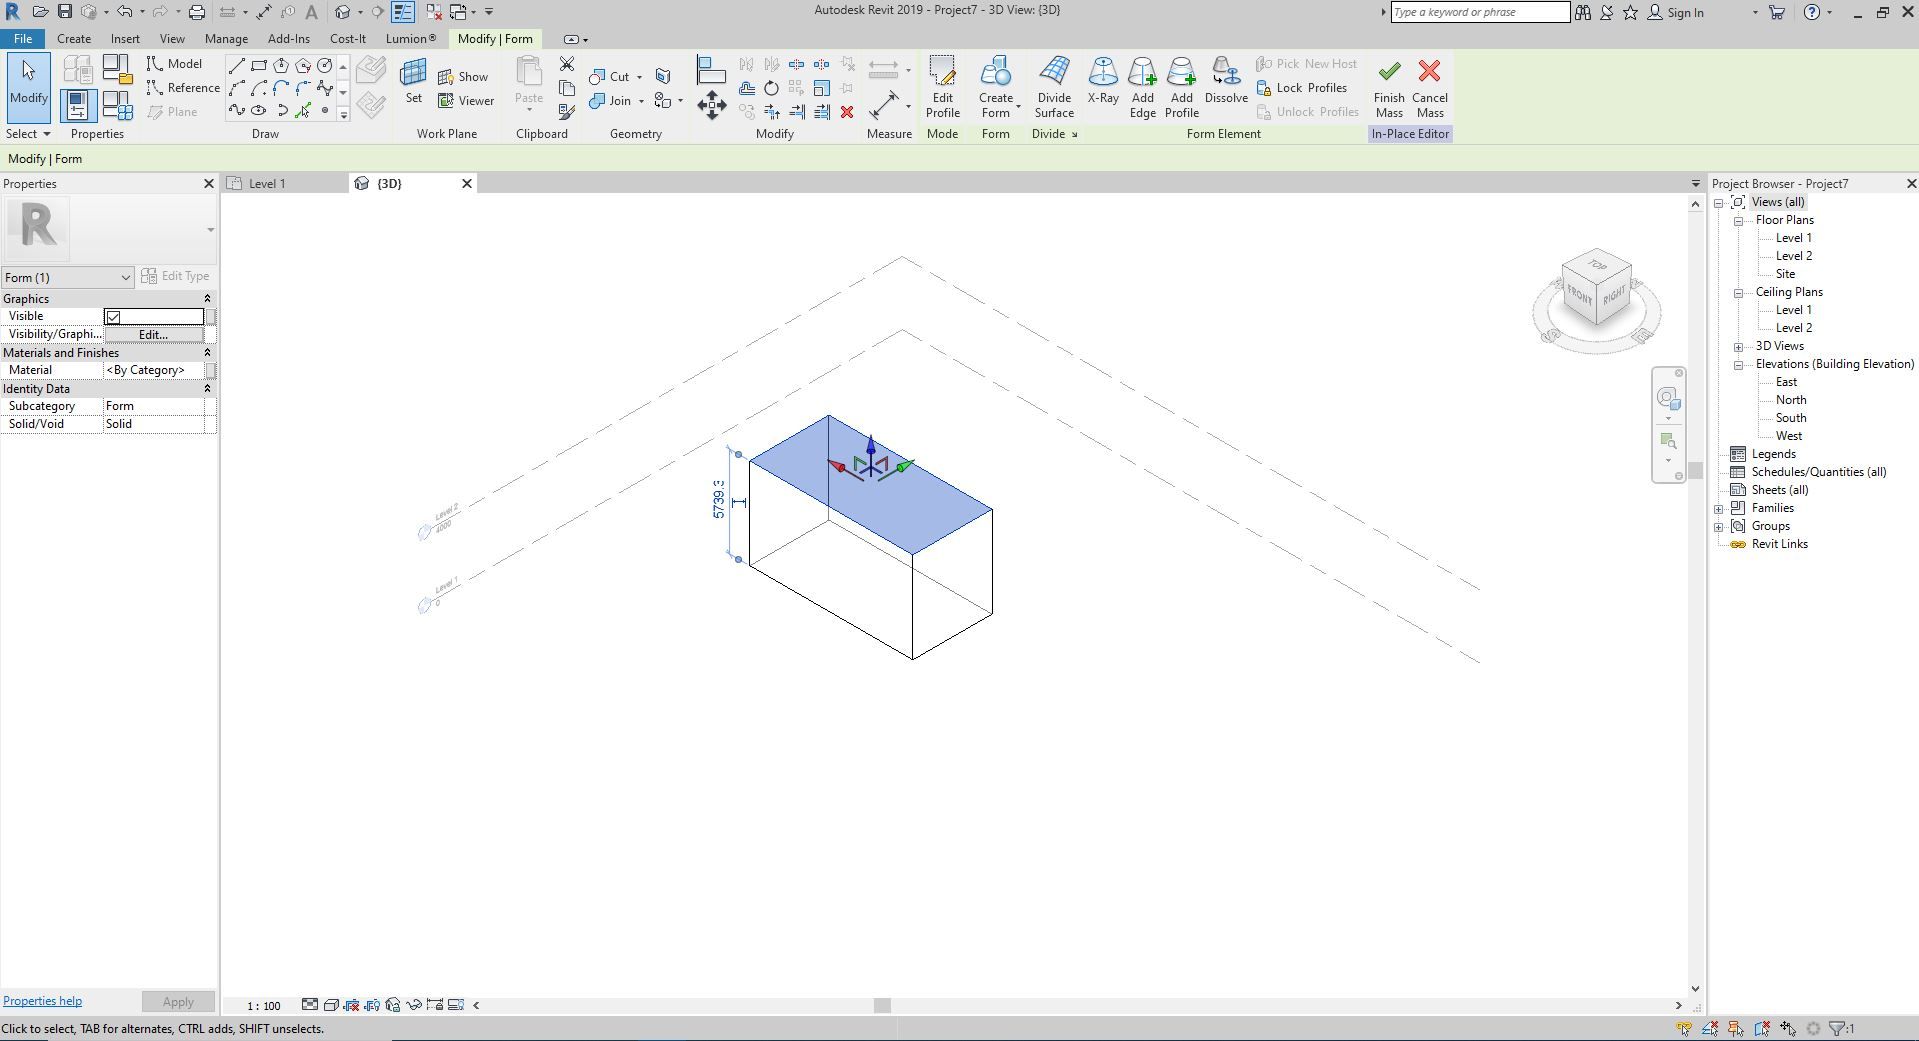
In-place masses are a bit more complex, although very easy to create. Its construction process is based on a closed contour created from lines, with which we will generate an extrusion. Once this shape is formed, we can start editing it. This process is based on the modification of levels, lines, and points of each of the faces created by the extrusion. This way, we will shape, little by little, our conceptual mass. What we achieve with this is a preliminary visualization of our project. On the other hand, we can also use this type of masses to simulate buildings in our project’s environment or, for example, decorative objects when designing interiors.
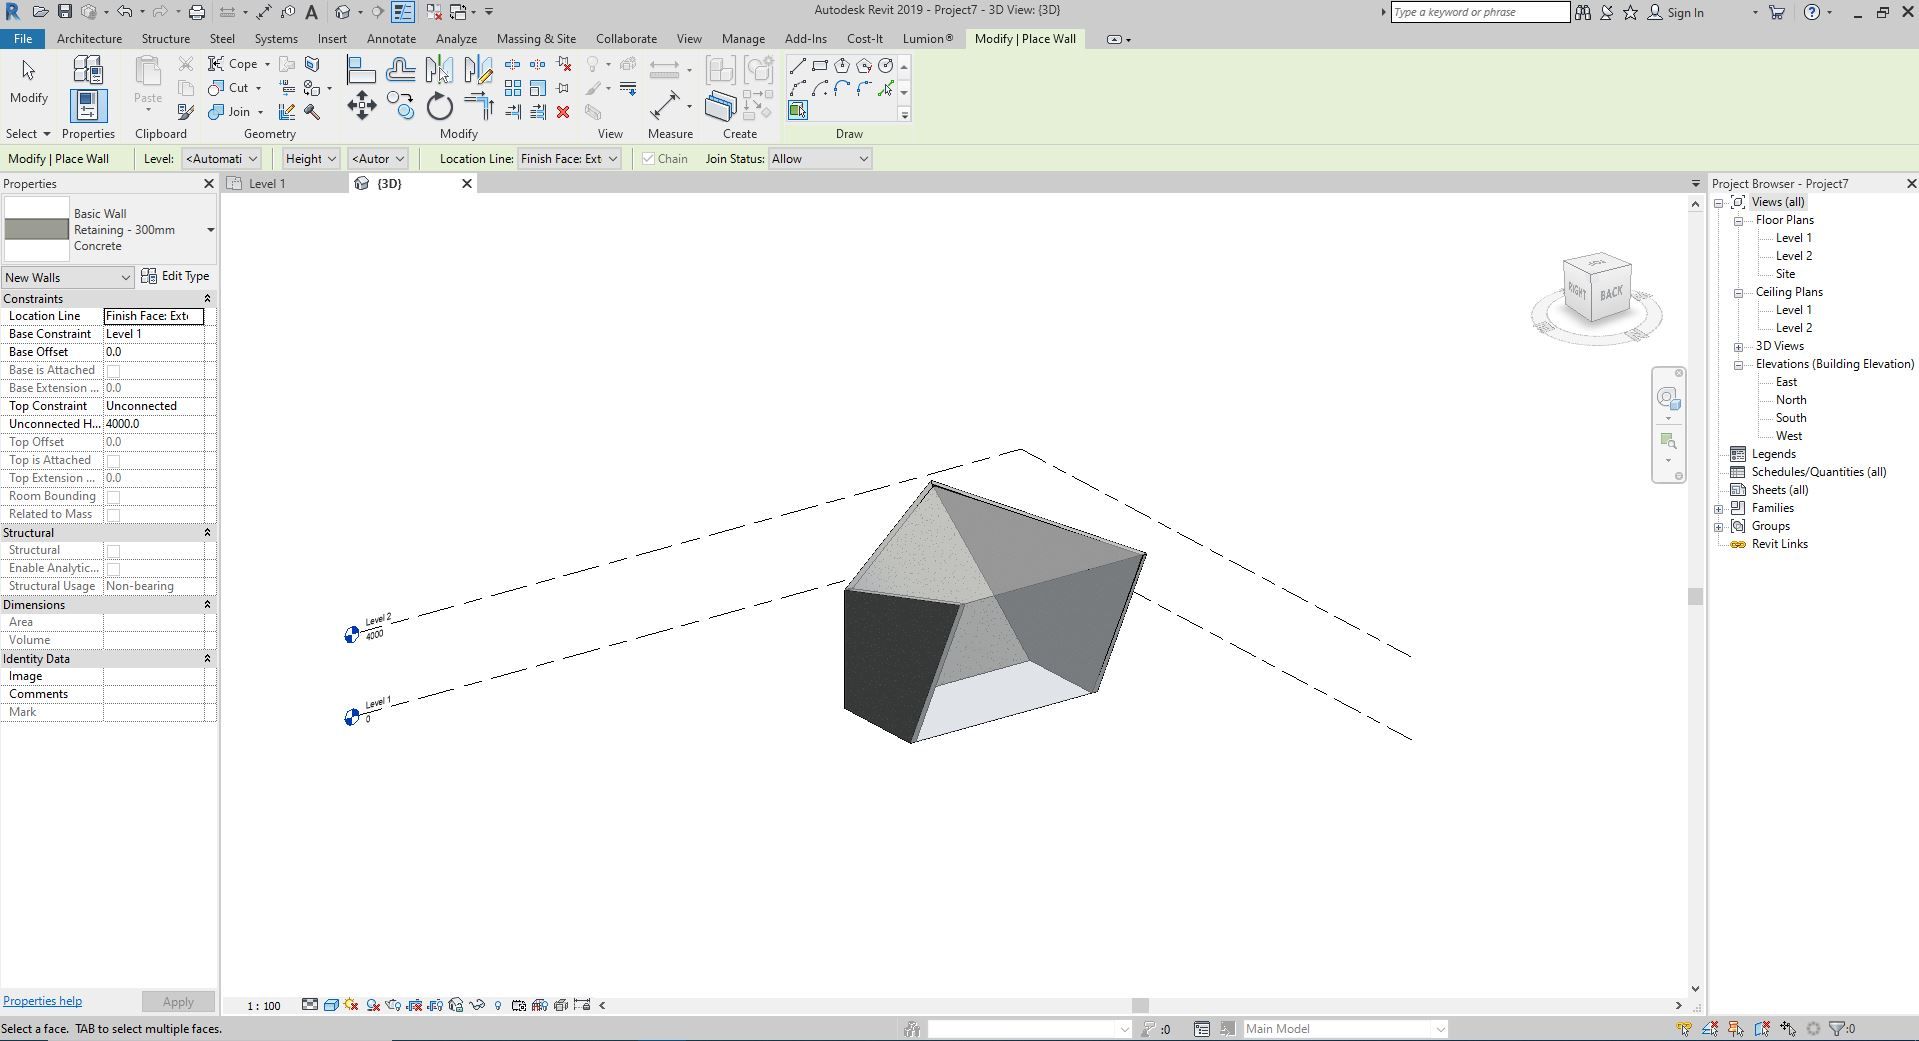
Another function that Revit offers with conceptual masses is placing Roofs, Walls, Floors, or even Curtain Walls from one of the faces of a Conceptual Mass. By simply selecting in which side or layer we want to place it, we can model these elements easily in a mass.
Daniel Mercer is a Coffee Break section editor at Arch2O, currently based in Berlin, Germany. With a background in architectural history and design journalism, Daniel holds a Master’s degree from the University of Edinburgh, where he focused on modern architecture and urban theory. His editorial work blends academic depth with a strong grasp of contemporary design culture. Daniel has contributed to several respected architecture publications and is known for his sharp critique and narrative-driven features. At Arch2O, he highlights innovative architectural projects from Europe and around the world, with particular interest in adaptive reuse, public infrastructure, and the evolving role of technology in the built environment.