

Good kitchen and bathroom design comes down to three things: a layout that fits how people move and work, materials that cope with water, heat and daily wear, and lighting in layers so that every task is lit. This guide covers all three for both rooms. It sets out the common kitchen and bathroom layouts with photographs of each, the planning clearances published by the US National Kitchen & Bath Association (NKBA), how to layer light, how to make small rooms work, and how to choose materials, with links to Arch2O’s detailed guides on each topic.
It is written for homeowners planning a renovation, students learning residential design, and designers who want a checklist. Selected kitchen planning recommendations are converted from inches to approximate metric equivalents; dimensions are not a substitute for a project-specific compliance check. The NKBA figures are recommendations, not law: local building codes and accessibility regulations always take precedence.
How to use this kitchen and bathroom design guide
Work through kitchen and bathroom design in the order a designer would. Fix the layout first, because walls, plumbing and windows are the most expensive things to change. Then check the clearances, plan the lighting, and only then choose finishes. Each section links to a deeper Arch2O guide where one exists.
Kitchen design: layouts, islands and clearances
In kitchen and bathroom design alike, the layout comes first. A kitchen layout organises three main work centres: food storage (the fridge), cleaning (the sink) and cooking (the hob or cooktop). The classic test is the work triangle between them. The NKBA’s kitchen planning guidelines recommend that the three legs add up to no more than about 7.9 m (26 ft), that no single leg is shorter than about 1.2 m (4 ft) or longer than about 2.7 m (9 ft), and that no major traffic route cuts through the triangle. Work aisles should be at least about 107 cm (42 in) wide for one cook and 122 cm (48 in) for more than one.
The common layouts each handle the triangle differently.
One-wall kitchen
Everything runs along one wall. It is the most compact layout and suits studios and small apartments, but there is no true triangle, so keep the sink between the fridge and the hob and allow worktop on both sides of the hob.
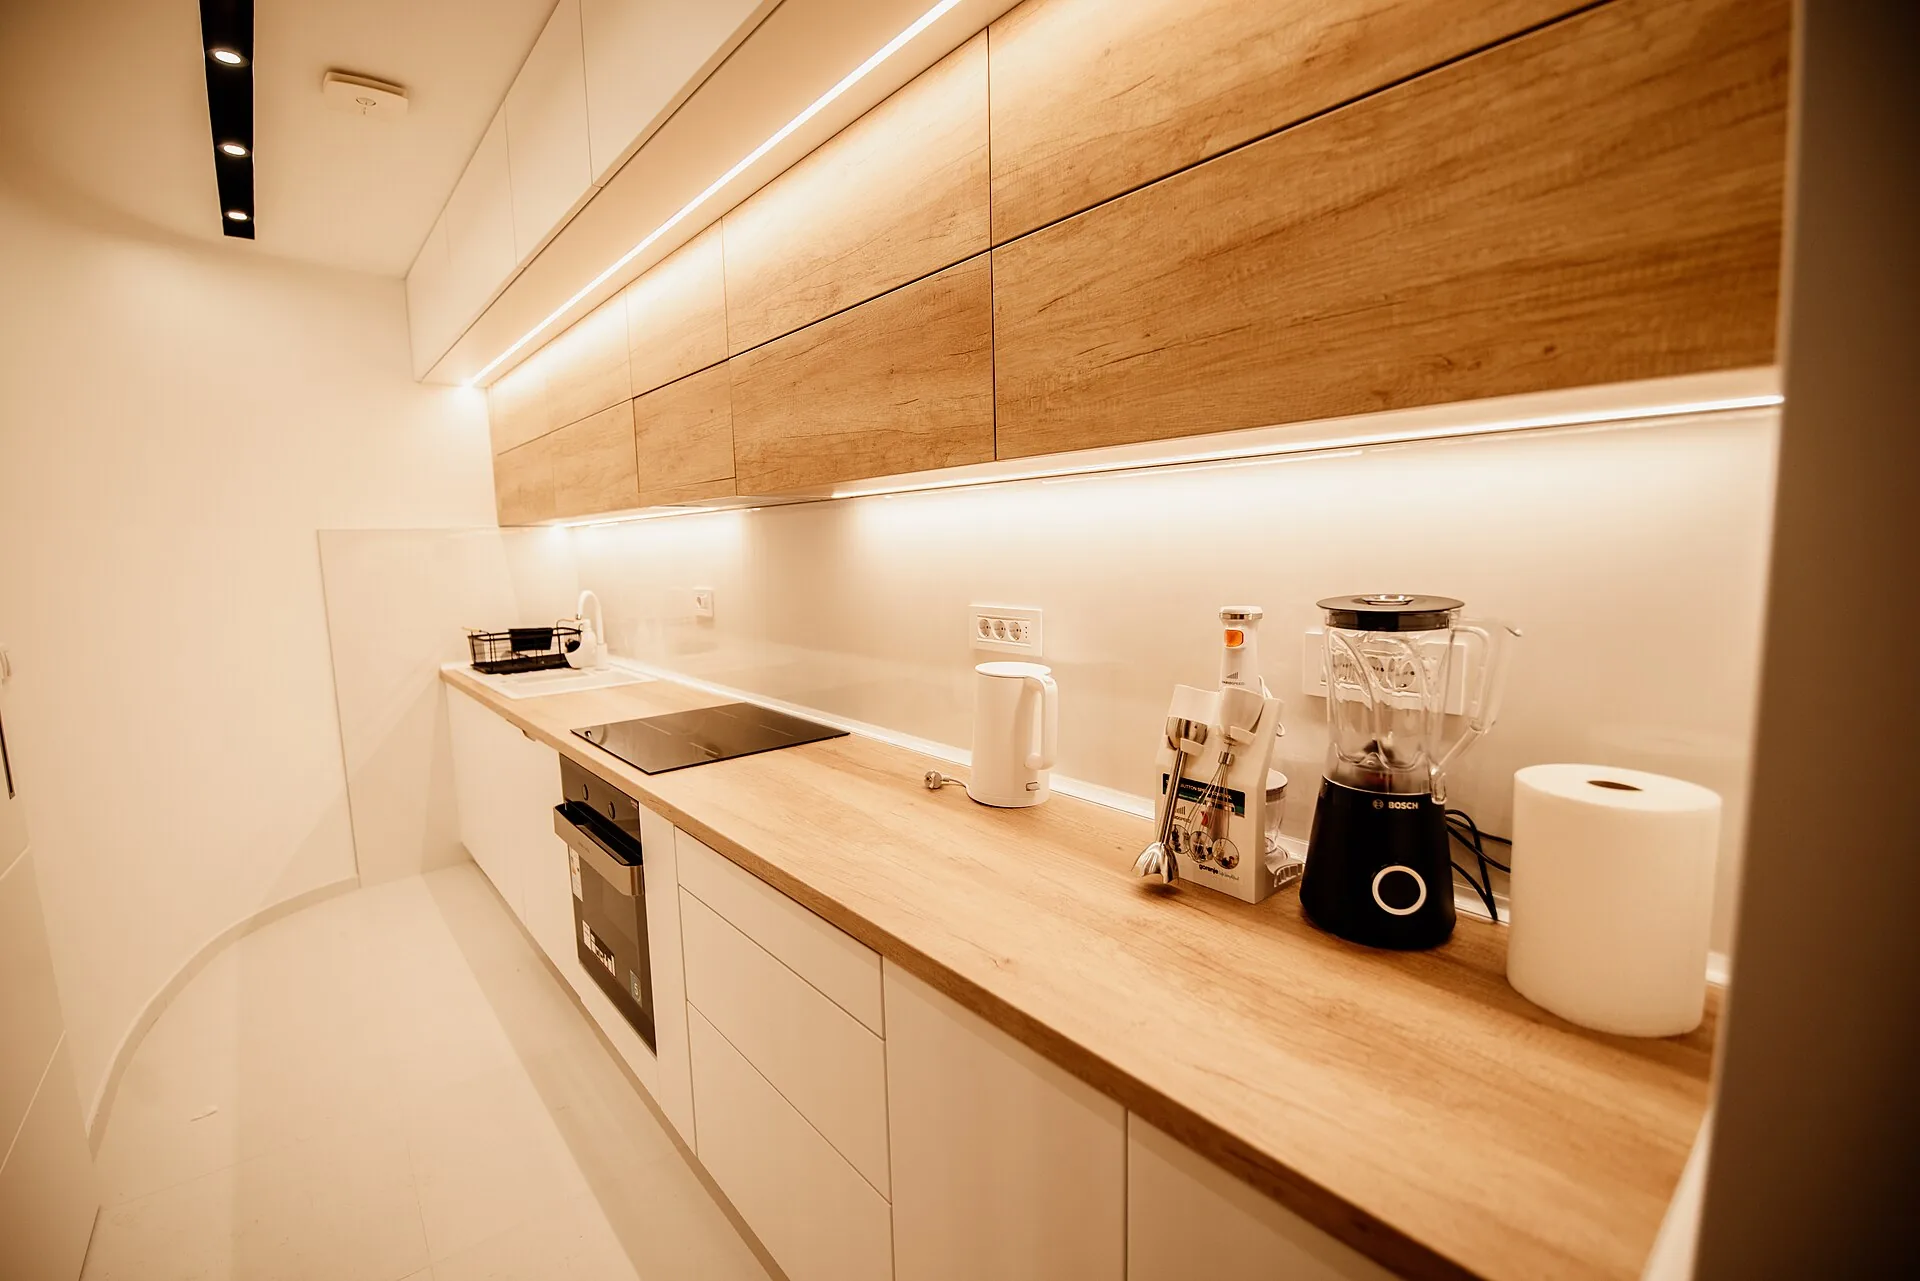
Galley kitchen
Two parallel runs face each other across an aisle. Galley kitchens are efficient for one cook because every centre is a step or two away. The aisle width is the critical dimension: too narrow and two people cannot pass; too wide and the cook walks back and forth.
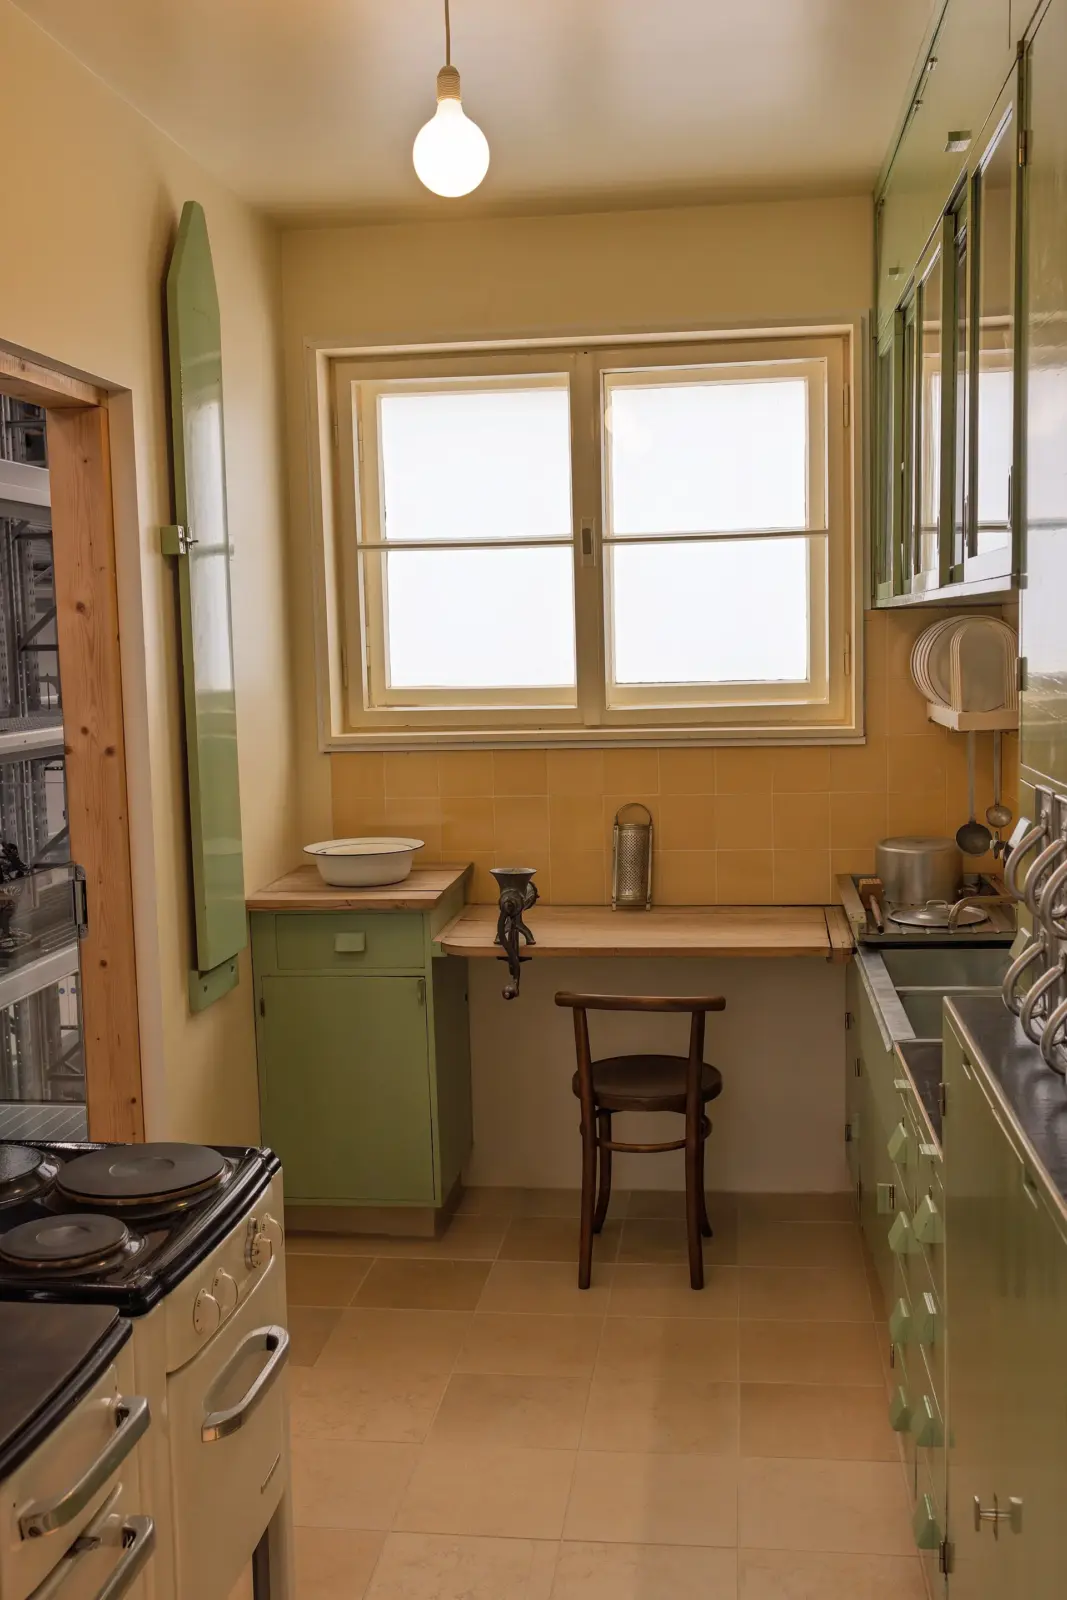
L-shaped kitchen
Two runs meet at a corner, leaving the rest of the room open for a table or circulation. The L suits open-plan living and makes a natural triangle, but the corner cabinet needs a good fitting (carousel or pull-out) to avoid wasted space.
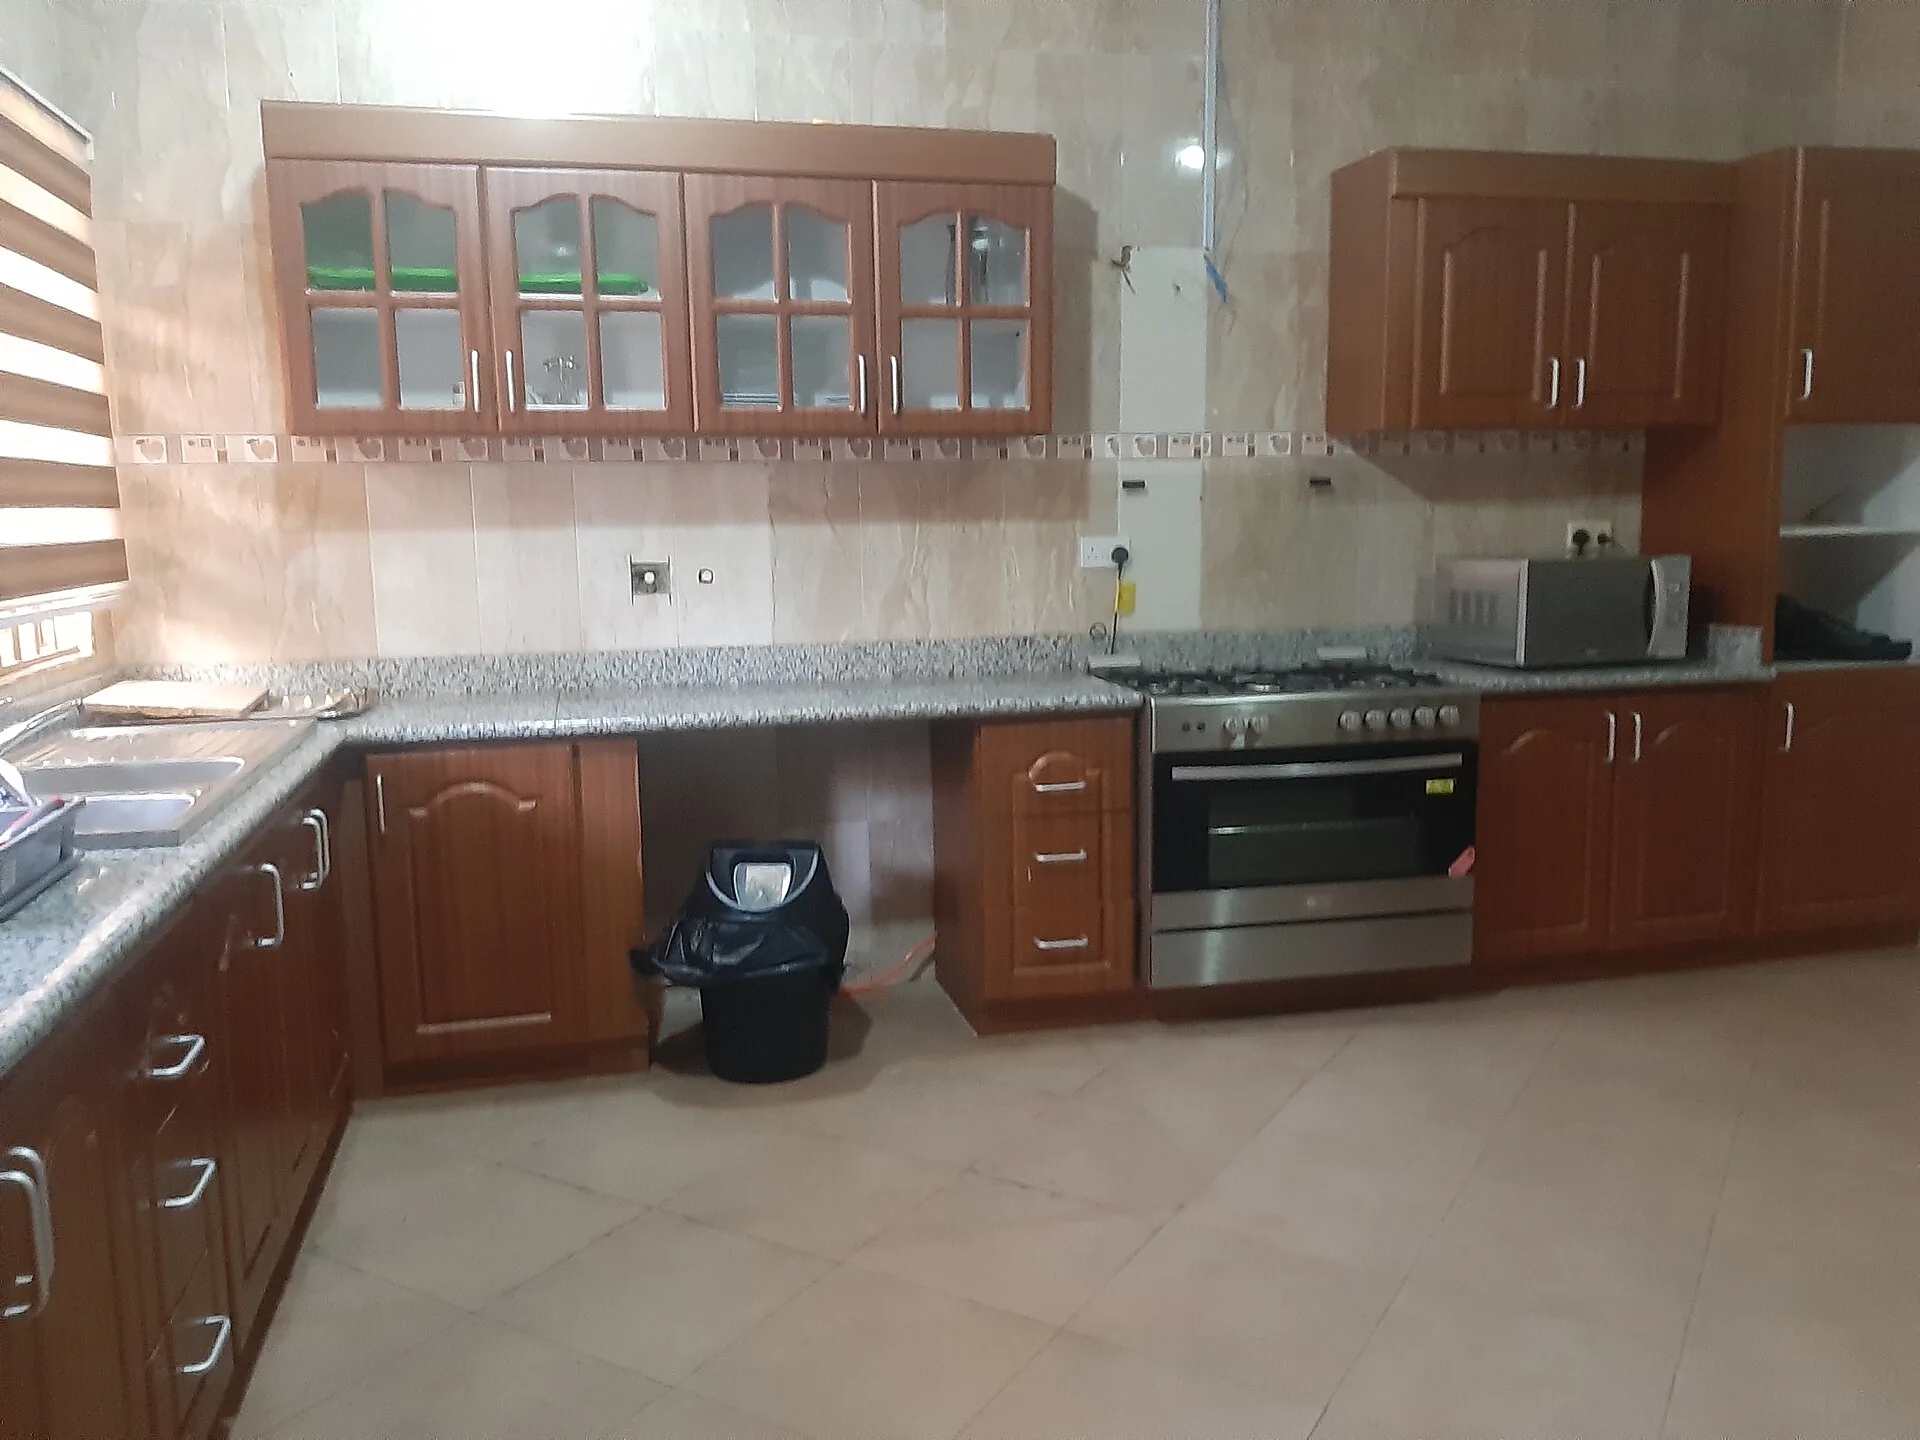
U-shaped kitchen
Three runs wrap around the cook, giving the most worktop and storage for the floor area. The U works well in enclosed kitchens, but two inside corners and a single entrance mean it needs enough width so the aisle meets the NKBA dimensions.
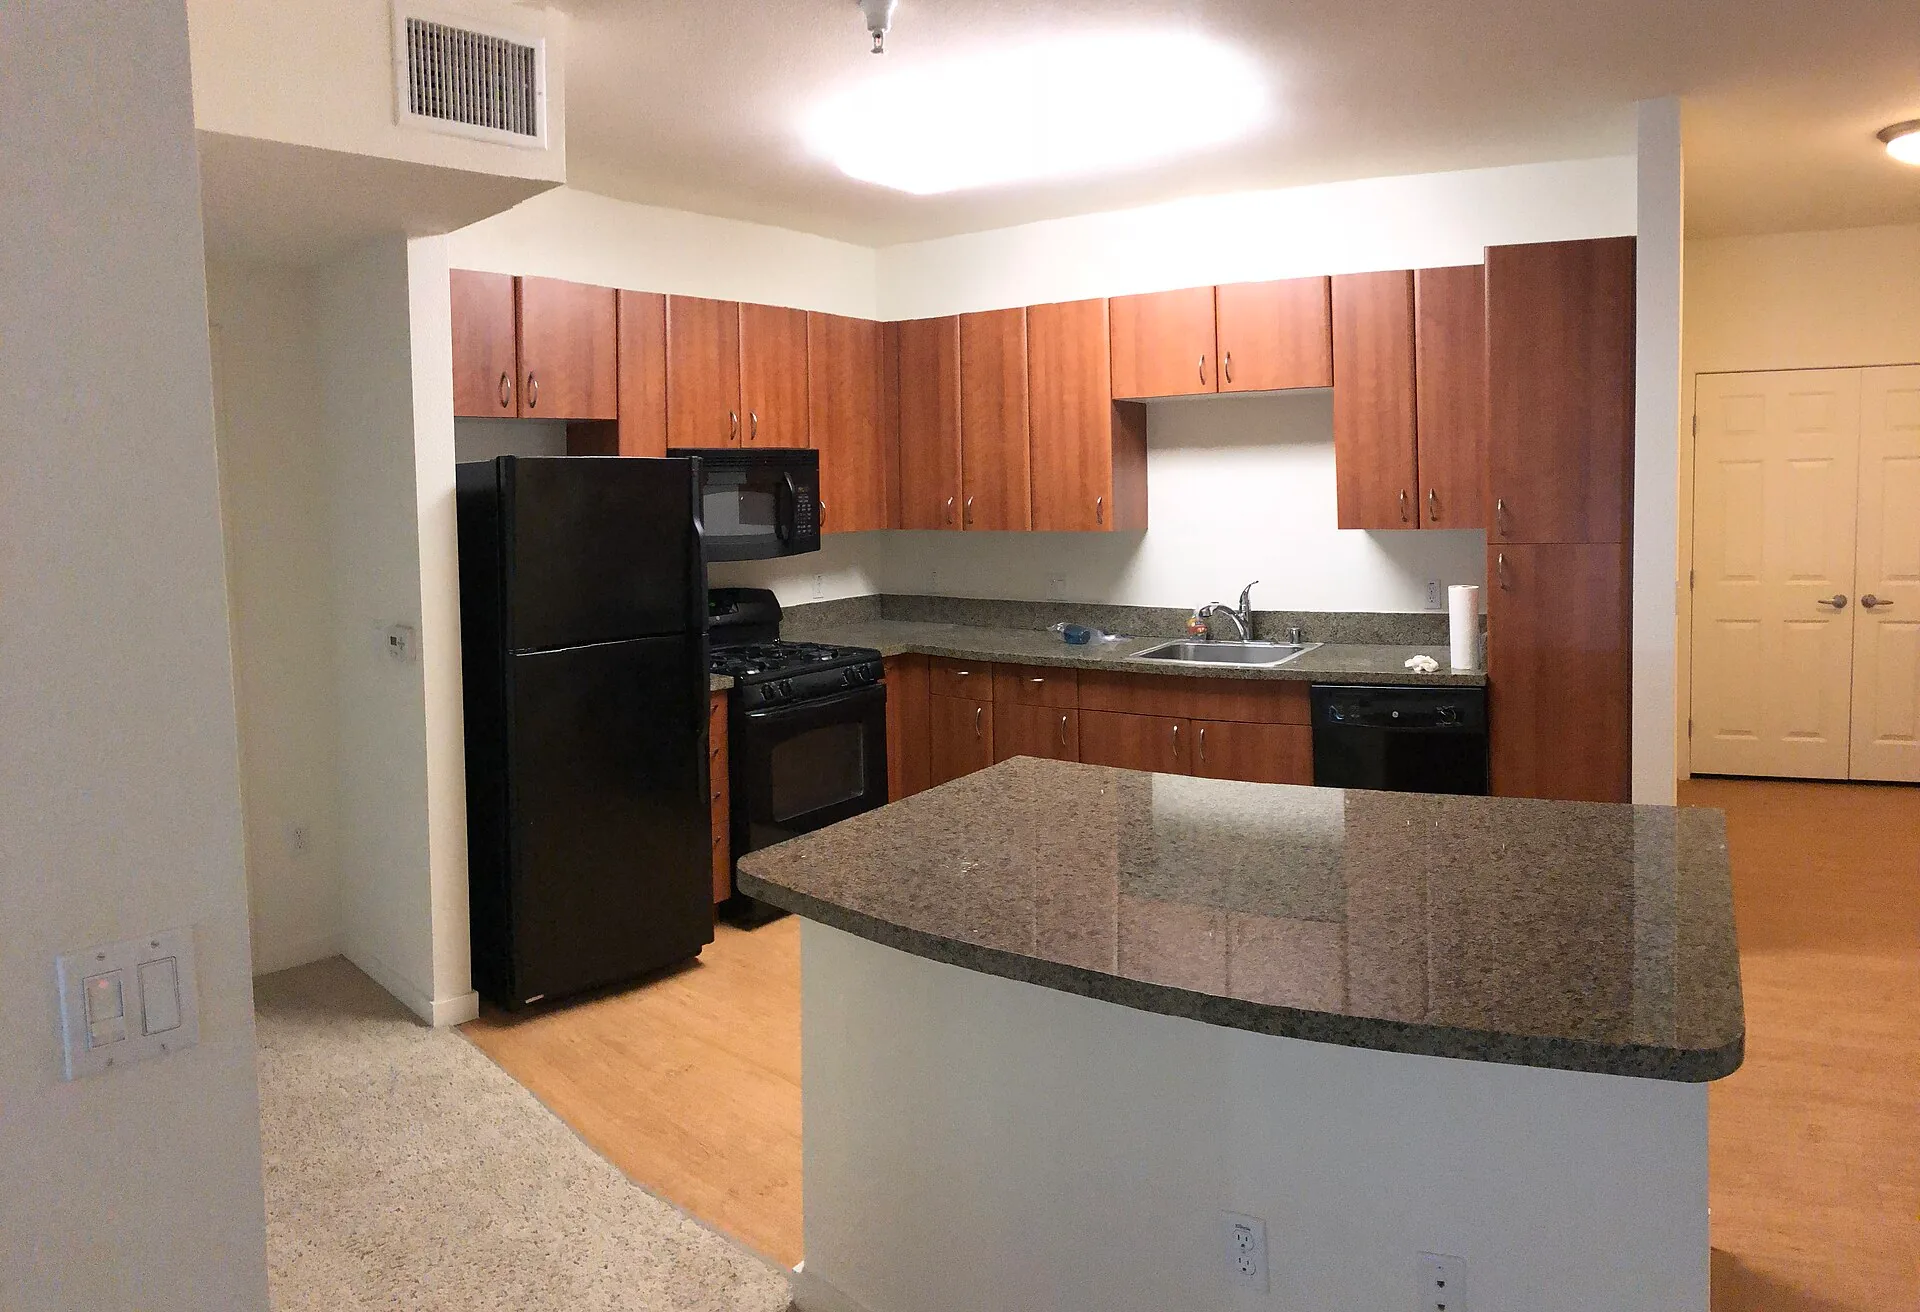
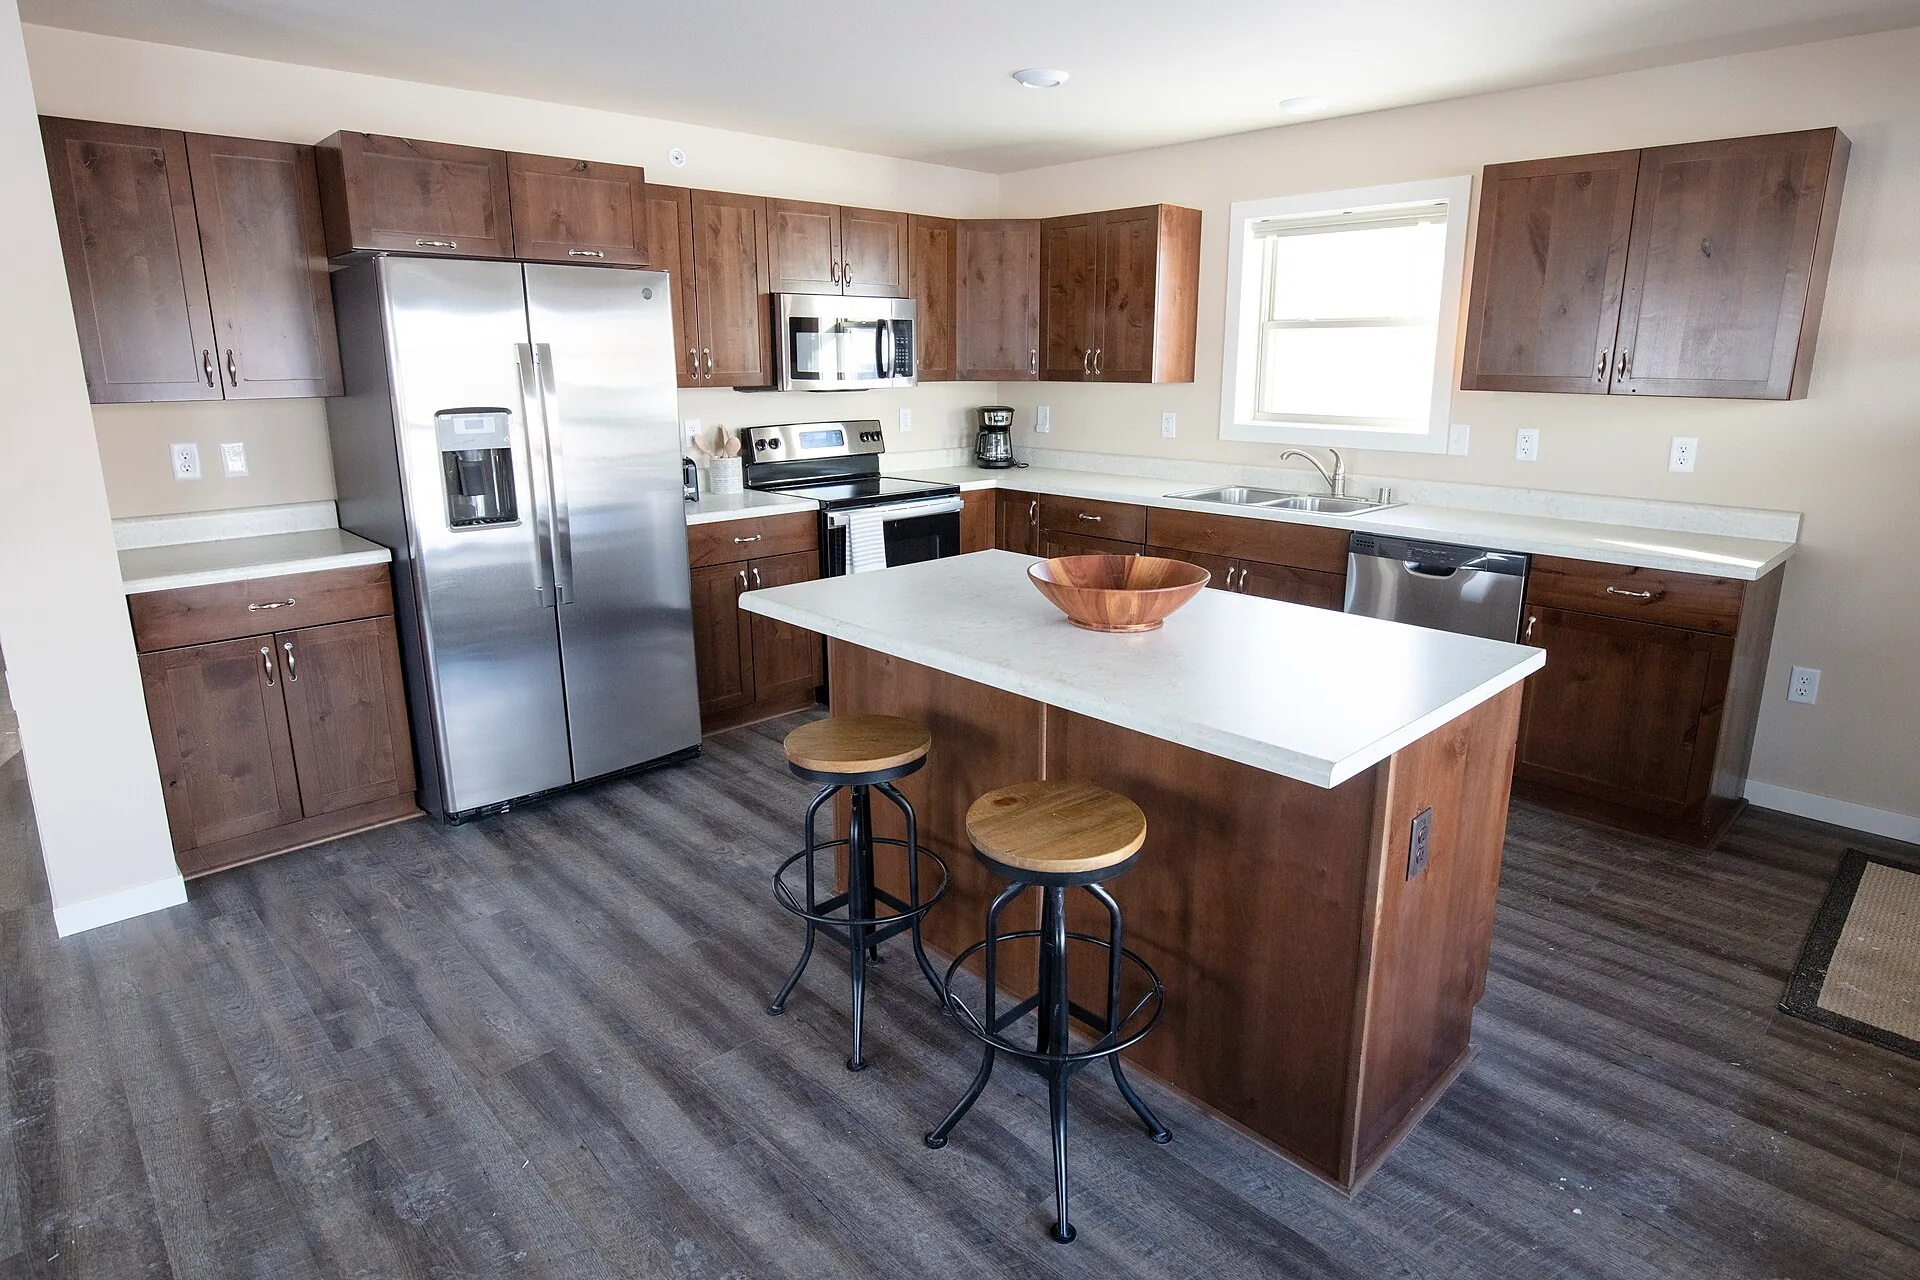
Island and peninsula kitchens
An island adds a free-standing worktop, often with a sink, hob or seating; a peninsula is an island attached to one end of a run. Both add surface and a social edge facing the living space. The NKBA advises that a work-triangle leg should not cut into an island or peninsula by more than about 30 cm (12 in), and the aisles around an island follow the same 107–122 cm (42–48 in) widths. Too small a room for those clearances is too small for an island.
Taps are one of the most used and most visible fittings in both rooms; our selection of 14 faucets that act as kitchen and bathroom centrepieces compares the main types.
Bathroom design: layouts, fixtures and clearances
Bathroom layouts are driven by the plumbing, door position and the clear spaces needed to use each fixture. Start with the people using the room: a layout that works for one mobile adult may not serve a wheelchair user or someone needing assistance. Check door swings, shower entry, cleaning access and transfers before choosing finishes. The kitchen dimensions cited above are recommendations from the linked NKBA planning document, not a complete current accessibility or building-code check.
- Toilets: check the required side and front clearance and the space needed for transfers or assistance.
- Basins: check actual bowl and cabinet dimensions, door swings and room for two users.
- Showers: coordinate entry, clear floor area, controls, drain position and waterproofing with the applicable accessibility and plumbing requirements.
Two more practical rules follow from these. Keep the toilet out of the direct view from the door where possible, and group the fixtures on one or two walls to shorten pipe runs.
Walk-in showers
A walk-in or level-access shower removes the tray edge and often the door. It needs a floor that falls to the drain, careful waterproofing, and enough length that water does not spray into the room; our guide to walk-in showers covers the options.
Vanities and storage
Vanities can be floor-standing or wall-hung. Wall-hung units make a small room look larger and make floor cleaning easier, but need a wall strong enough to carry them. Recessed niches in shower walls give storage without projecting into the space.
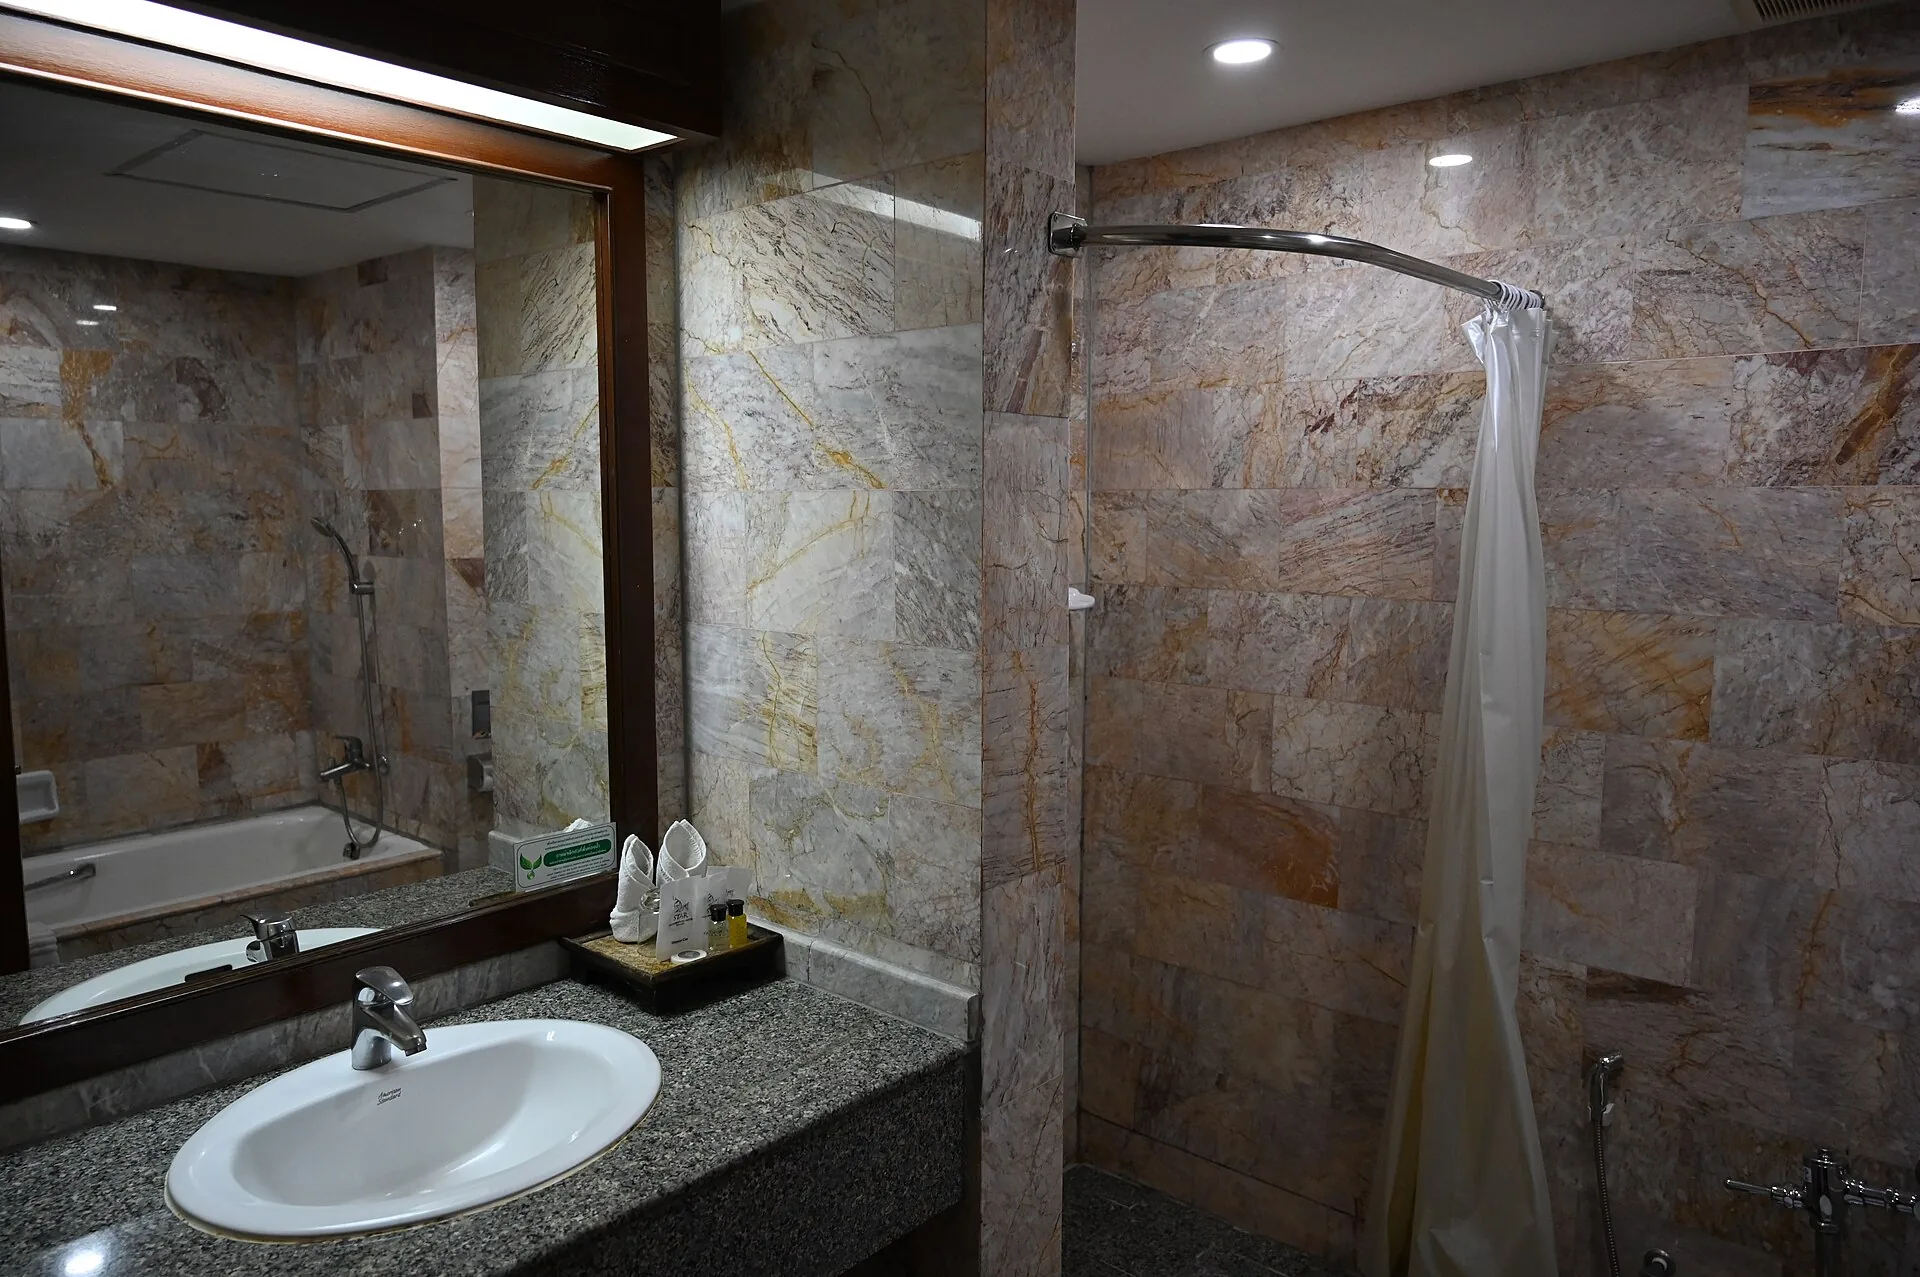
Finishes give a bathroom its character. Moisture-resistant bathroom wallpaper ideas work away from direct splashes, and plants for the shower suit rooms with good daylight.
Lighting design: layers and light levels
Both rooms need light in three layers:
- Ambient light for moving around safely, from ceiling fittings or indirect light; our guide to ambient lighting explains how to make it comfortable rather than flat.
- Task light where work happens: worktops, hob, sink, and the mirror in a bathroom. Under-cabinet LED strips are the standard kitchen task light, because ceiling lights behind you cast your shadow onto the worktop.
- Accent light for display shelves, niches or texture, used sparingly.
Plan lighting around the task, contrast, glare and the person using the room. Check the applicable lighting guidance with the designer instead of attributing a universal lux target to an unconsulted standard. For layout examples, see our guides to kitchen lighting and kitchen lights with LED.
In bathrooms, light the face from both sides of the mirror rather than from above, which casts shadows under the eyes, and check the bathroom zone ratings for any fitting near water under your local electrical regulations.
Small kitchens and small bathrooms
Small rooms are where kitchen and bathroom design is tested hardest, and they reward discipline more than tricks:
- Keep the full clearances even in a small room; cut fixture sizes before cutting aisles.
- Use the height: tall cabinets to the ceiling, wall-hung vanities and toilets with concealed cisterns.
- Choose sliding or pocket doors where a swinging door would block a fixture.
- Use continuous surfaces: the same floor tile running into a level shower, or one worktop material, makes the room read as a single space.
- Light every surface: under-cabinet and mirror lighting make small rooms feel larger than a single ceiling light.
Our collection of small bathroom ideas that make space work shows these principles in built examples.
Materials for kitchens and bathrooms
Materials are where kitchen and bathroom design meets maintenance: both rooms combine water, heat, cleaning chemicals and heavy wear. Match the material to the exposure:
- Worktops: quartz and sintered stone resist stains and acids; natural stones such as marble and travertine etch and need sealing; timber needs oiling and care around sinks; stainless steel is hygienic but scratches.
- Floors: choose slip resistance suitable for wet areas, as required by local regulations; porcelain tile is the most common choice for bathrooms.
- Walls in wet zones: tile, sheet materials or waterproof plaster systems over a tested waterproofing membrane.
- Cabinetry: moisture-resistant boards and durable edge banding near sinks and dishwashers.
Ventilation: the part of the design you cannot see
Kitchens and bathrooms produce most of a home’s moisture and cooking pollutants, so both need mechanical extract ventilation as well as openable windows. In the United States, ASHRAE Standard 62.2 sets the usual minimums for local exhaust: for intermittent fans, about 50 L/s (100 cfm) in kitchens and 25 L/s (50 cfm) in bathrooms, with lower continuous rates as an alternative (around five kitchen air changes per hour, or 10 L/s (20 cfm) for a bathroom). Other countries set their own figures in their building regulations, so check the edition in force where you build.
Design consequences follow directly. A cooker hood should be ducted to the outside rather than recirculating wherever the building allows it, and the duct run should be as short and straight as possible. Bathroom fans should be placed away from the door so that air is drawn across the room, and quiet fans are more likely to be left running: ASHRAE 62.2 limits the sound of intermittent exhaust fans to about 3 sones. Give the extracted air a way back in, such as a door undercut or a trickle vent, or the fan will not achieve its rated flow.
Designing for every age and ability
Good kitchen and bathroom design should work for a child, an older parent and a visitor using a wheelchair, not only for the person who commissions it. A few decisions make the biggest difference:
- Level access: a walk-in shower with no tray edge, and no step at the door.
- Turning space: where accessibility standards apply, a clear turning circle of about 150 cm (60 in) in front of fixtures is the usual benchmark; check your national standard.
- Reach: drawers rather than deep base cupboards, wall ovens at worktop height, and controls and sockets within easy reach.
- Grab bars: plan solid backing in the walls around the toilet and shower now, so bars can be added later without opening the walls.
- Contrast and light: contrasting edges on worktops and fittings, and even lighting without glare, help people with low vision.
Costs and trends
A renovation budget is useful only when its scope is explicit. Separate retained items from replacements and list demolition, services, waterproofing, cabinetry, finishes, labour, approvals and contingency. Obtain comparable local quotations using the same drawings and specifications. A minor kitchen refresh and a major remodel are different project categories; a national resale-cost survey should not be used as a quotation for either room.
What kitchen and bathroom trends will be outdated in 2026? No reliable data predicts fashion. The NKBA publishes an annual design trends report based on industry surveys, which is the best source for what designers are specifying. For a long-lived room, the safer approach is the one this guide follows: a layout that works, durable materials and good light age better than any trend.
Planning checklist for kitchen and bathroom design
Before drawings are finalised, a short checklist prevents the most expensive mistakes in kitchen and bathroom design. Confirm the position of drains, soil stacks and gas or induction supply first, because moving them later costs far more than moving cabinets. Agree the working sequence in the kitchen (store, prepare, cook, serve, clean) and the clear widths around islands and between facing runs. In bathrooms, fix the position of the WC and shower around the soil stack and ventilation route, then plan storage, mirrors and lighting around the basin.
- Services: socket positions above worktops, dedicated circuits for ovens and hobs, extract ducting to the outside, and waterproofing under showers and around baths.
- Materials: durable, easy-to-clean surfaces where water and heat are concentrated, with slip-resistant floors in wet areas.
- Lighting layers: general, task and accent lighting on separate switches, with task lights in front of the user rather than behind.
- Accessibility: level-access showers, lever taps and reachable storage make kitchen and bathroom design work for every age.
Treat the two rooms as a pair: they share plumbing logic, ventilation needs and many materials, so coordinating them early simplifies the whole project.
A layout check before you choose finishes
Draw the doors, drawers and appliance fronts in their open positions, then trace the route between the room entrance and each fixture. Check whether a person can use the room while another opens a cabinet or moves past. In a bathroom, include the shower-screen movement, towel reach and the space needed for assistance where relevant. In a kitchen, test carrying hot food from the oven to a landing surface. A plan that works only with everything closed is not a resolved layout. Confirm the final clearances against local requirements and the actual product drawings.
Summary
Plan the layout around the work centres and plumbing, ventilate both rooms properly, keep the NKBA clearances or your local code minimums, light each room in ambient, task and accent layers, and choose materials for their exposure to water, heat and wear. Kitchen and bathroom design done in that order produces rooms that work every day, whatever the finishes.
More in this guide
- 18 Minimalist Bathroom Design Ideas That Will Make Your Space Look Fresh, Modern, and Clean
- Artificial Lighting in Architecture: Techniques to Improve Spaces
- Bringing the Outdoors In: Creating Dynamic Spaces with Natural Lighting in Architecture
- Examining Soviet Constructivist Architecture in the Light of Politics
- Natural Lighting By Sunlit Spaces How to Make Your Apartment More Natural Light-Filled
- Smart Outdoor Kitchen Design Ideas: Planning a Weather-Resistant Cooking Space
- The Magic of Light and Shadow in Architectural Marvels: A Visual Odyssey in Architecture

Luca Moretti is a content strategist with a foundation in urban design and architecture. Based in Milan, he focuses on writing that bridges aesthetics, material culture, and everyday spatial experiences.