Have you ever been in a situation where you wished you have used your camera more properly and more professionally? You might be into architecture photography, or you just wish to take perfect photographs of landmarks while traveling through Europe to document your visits. Do you feel like you need help?
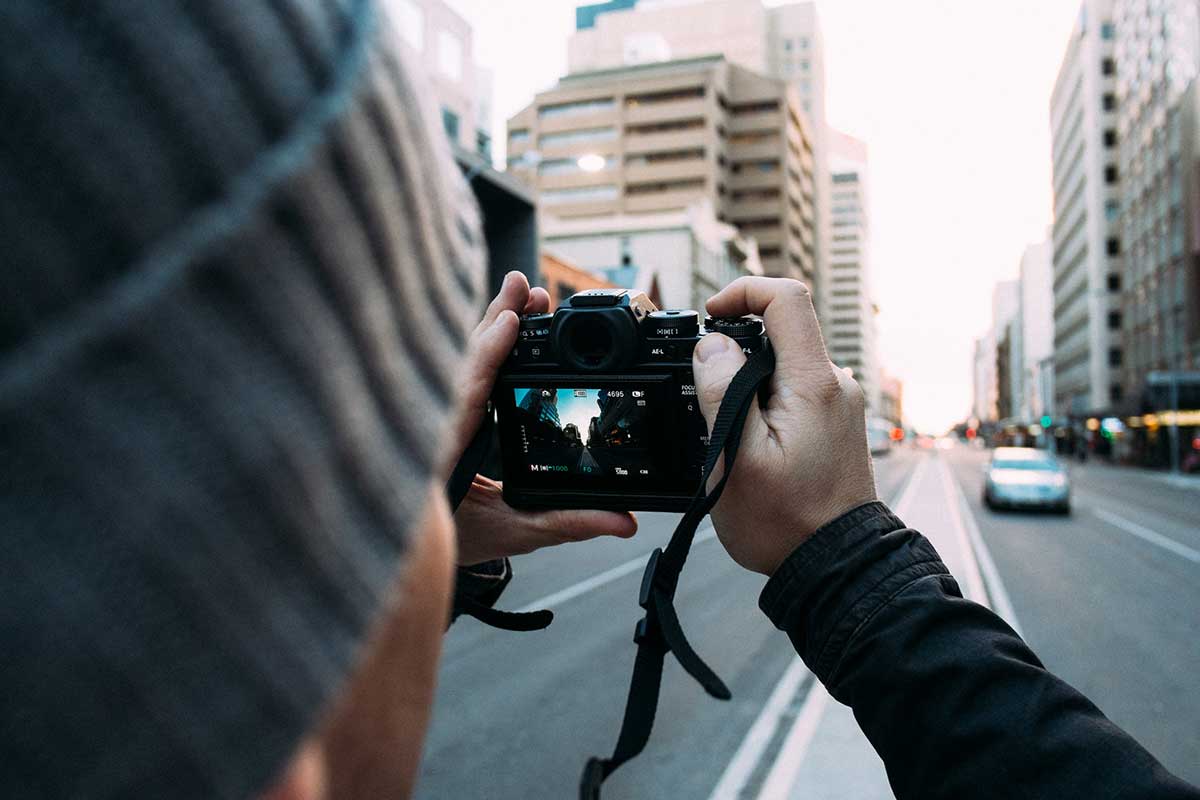
Well, the art of architectural photography has no set of rigid rules. They are more general guidelines that walk you through the process of taking the ideal image. Whether you do it for fun or to seek a career besides architecture, If you are new to architecture photography or photography in general, and you wish to improve the quality of the pictures you capture, follow our tips:
What are the types of architectural photography?
There are two general types of architectural photography:
- Exterior Architecture Photography
- Interior Architecture Photography
Also, check:
20 Finalists of the Architecture Photography Award Announced
Architecture Photography Tips:
1) Rule of thumb “ rule of the thirds”

This is a guideline rather than a rule as we have mentioned before. The rule of thirds tells you to divide the picture into three equal horizontal and vertical parts. With that done, place the most important element at one of the intersecting lines, rather than at the center of the photograph. For example, Eiffel Tower—in the picture above, is placed at one of the intersections.
[irp posts=’178111′]
2) Symmetrical photographs

Alright, forget what I have just told you in no. 1. Just kiddin’! However, there are times when it is better for the main element to be placed in the center as in the case of symmetry. When you have a photo that can be split into two mirror images, it is definitely better to align the most important photo element centrally.
3) Having leading lines
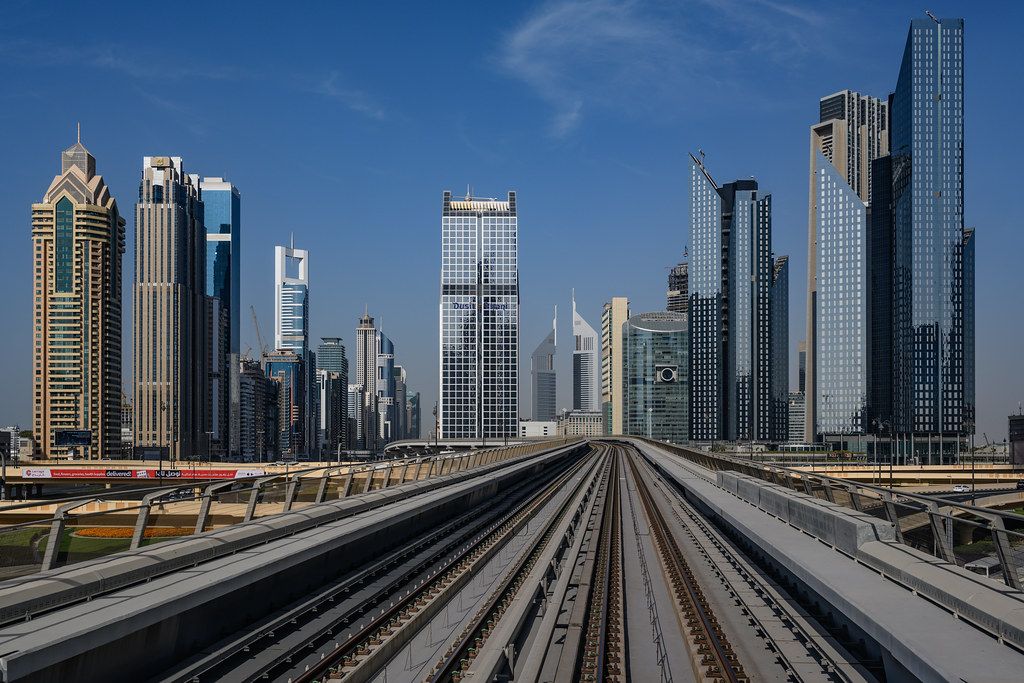
Leading lines are the lines that lead to the key elements of the picture. Like here, the handrails of the bridge lead the eyes to the iconic wings of the Milwaukee Art Museum.
4) One frame inside of the other
Depict the depth of the scene by framing its major element. Paintings from the Renaissance period used that technique to highlight the key elements. Framing can be done using archways, windows, or even branches of a tree. Here in this picture, the arch frame highlights the building’s domed tower.
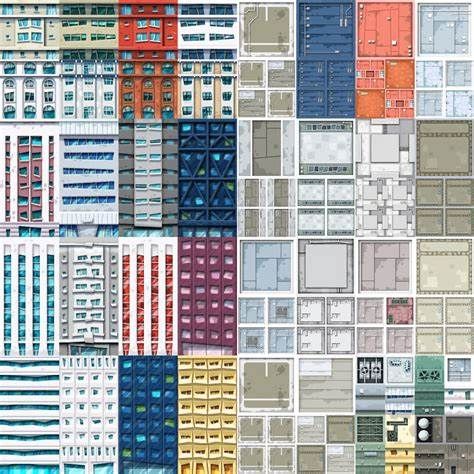
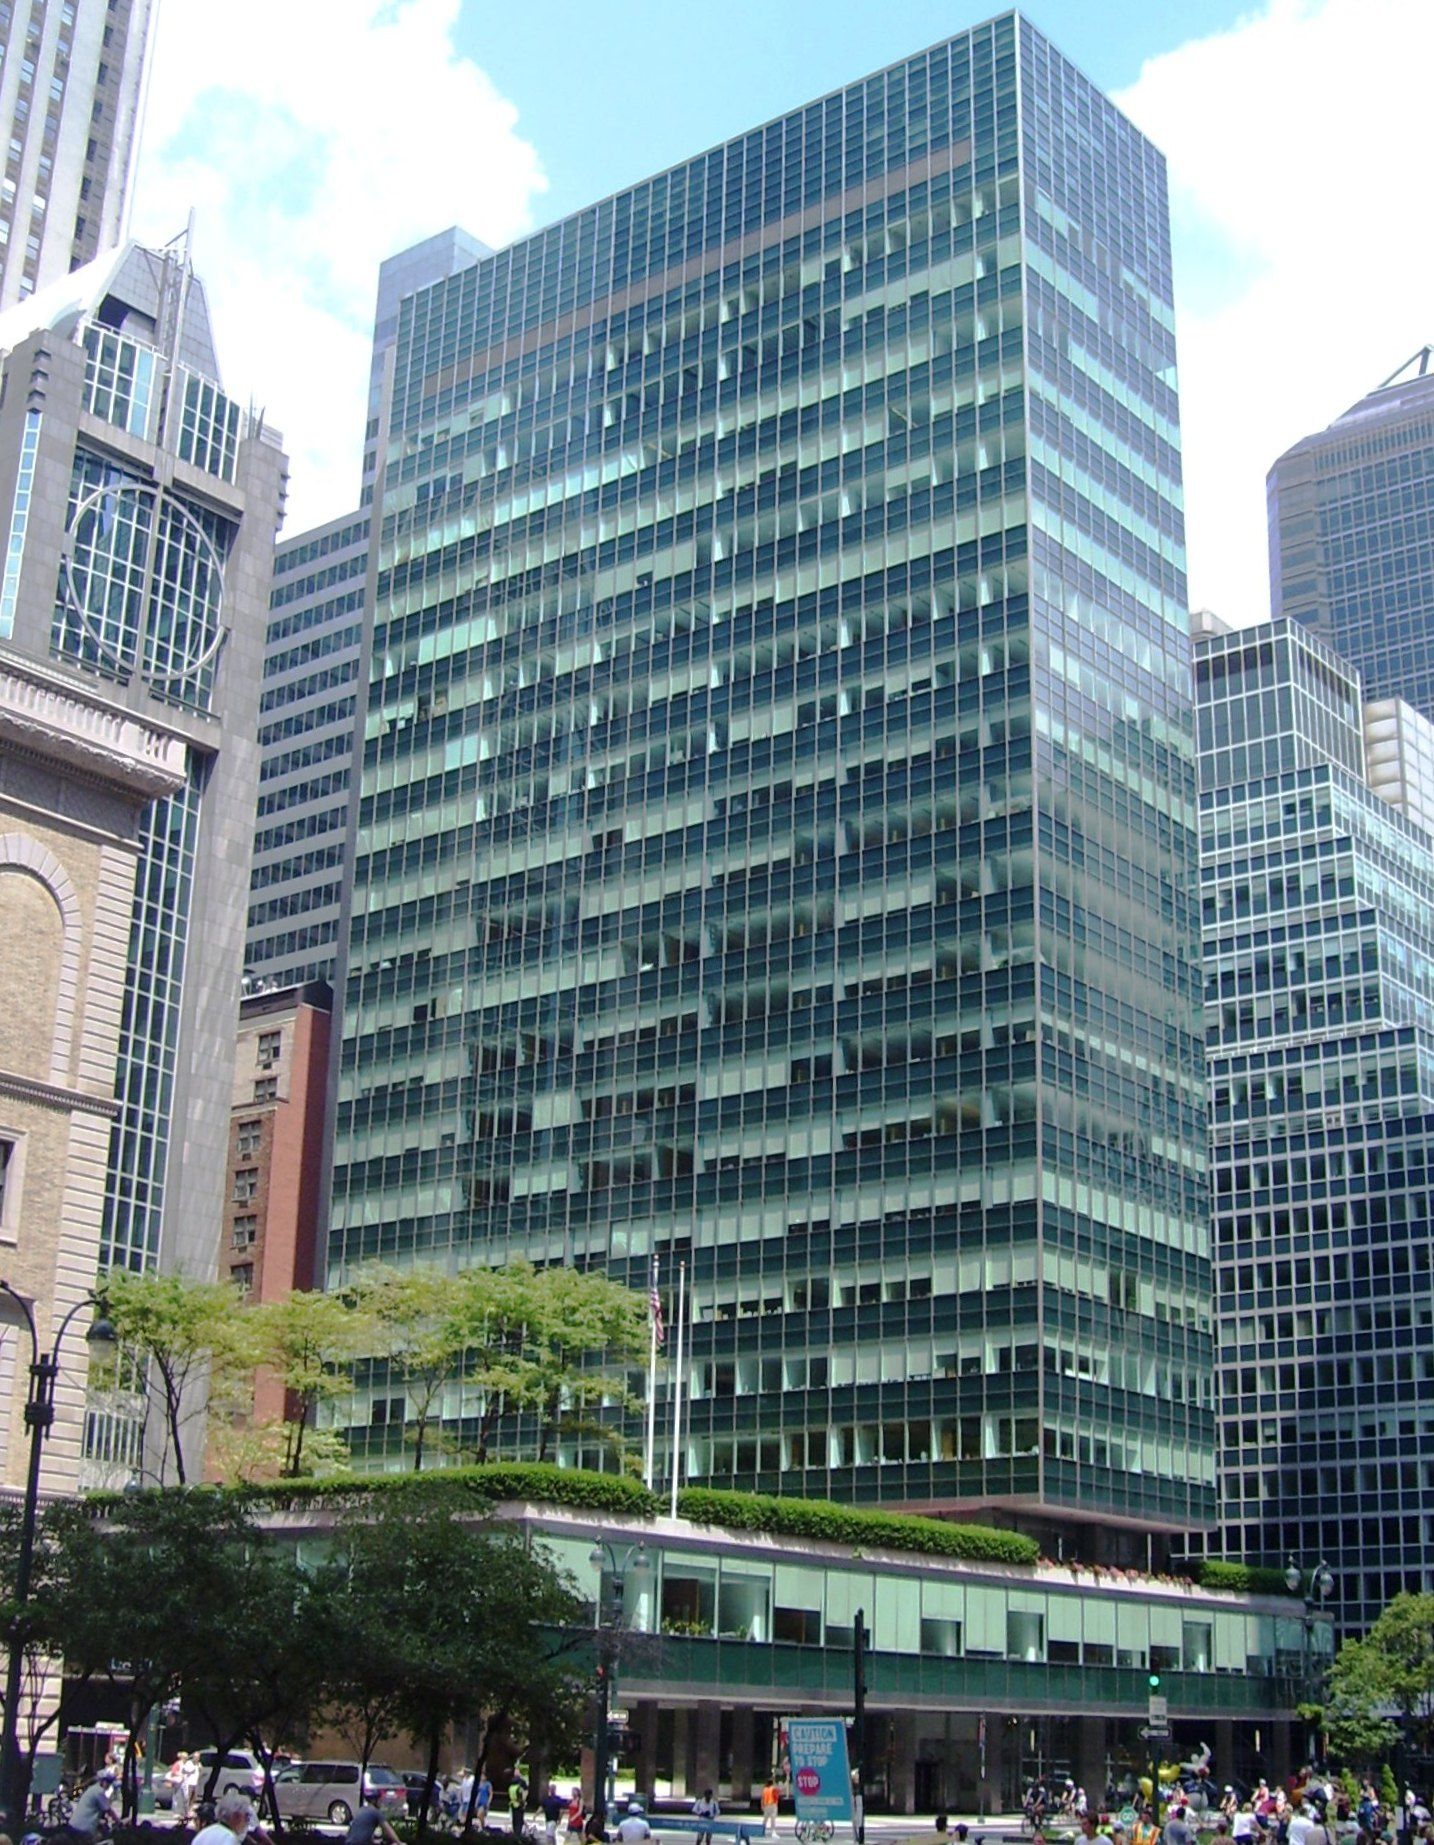
5) Make good use of patterns
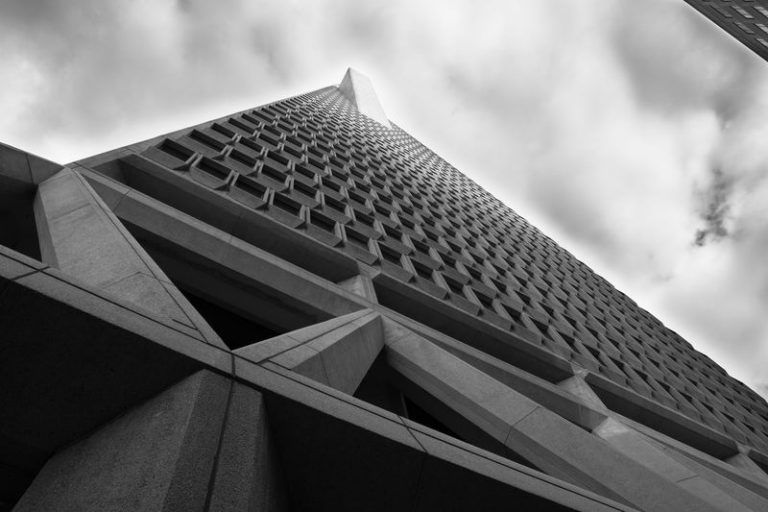
The eye loves harmony by nature. It is almost instinctive to take joy in a photo that is harmonious in its patterns. One can find patterns in repetitive structures or even colors.
6) Use different textures
The variety in the texture of the photo elements creates depth that can even rival the use of colors. The feel of the eroded wall in the photo above is almost tangible. You can see the depths of the layers and sense the roughness just by looking at the photo.
7) Filling your frames
A photograph that closes up and focuses only on one subject could be a great one. Leaving no space around the key object intensifies the shot. It also allows the eye to focus on the tiny details that it would miss in further shots. Notice how the “filling of the frame” in the picture above makes you almost feel the icy metal of the sculpture.
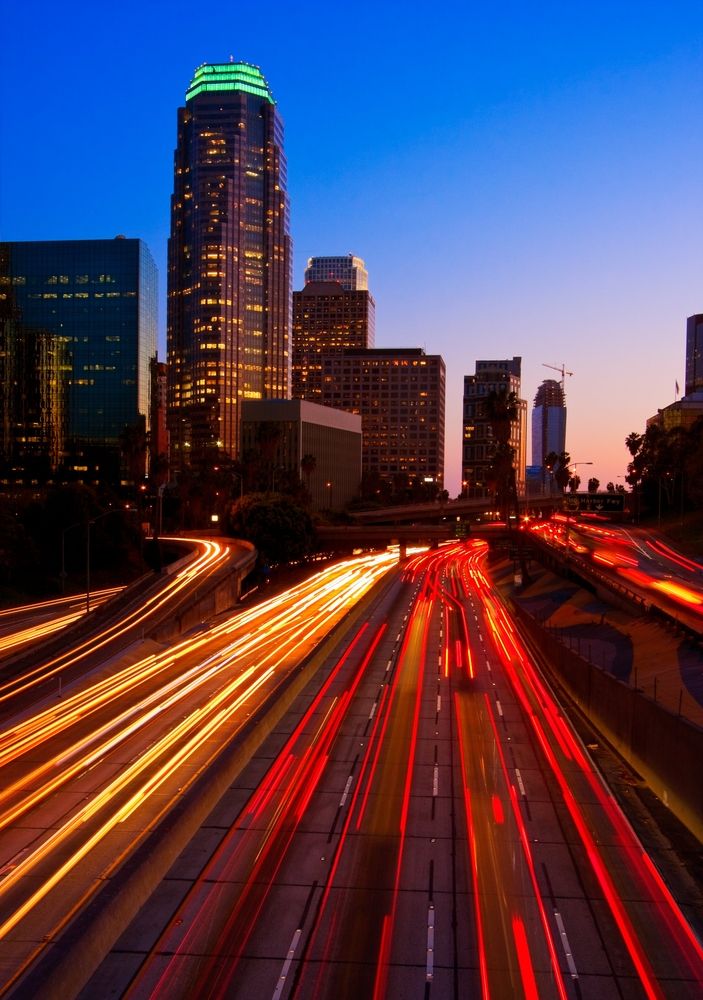
8) The “Space” rule
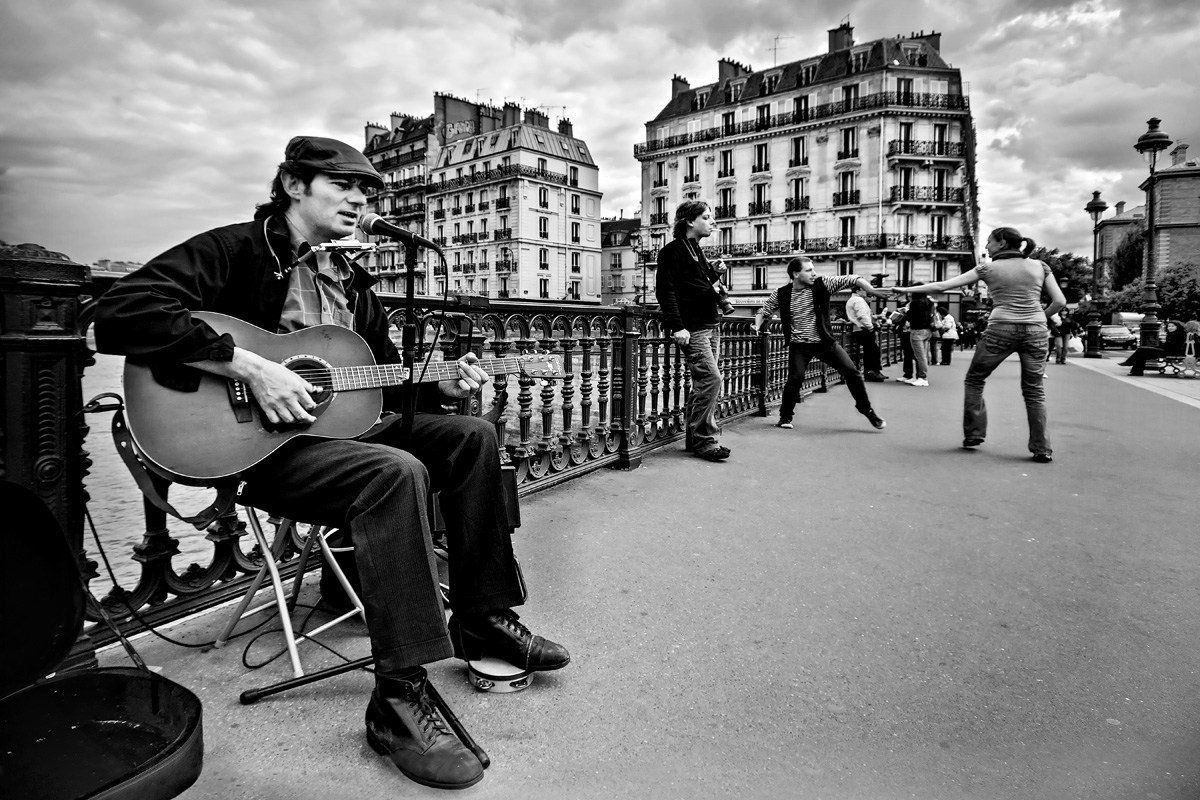
This guideline says it is much better to take a photograph where the moving element has considerable space ahead. The viewer will take a mental journey with the walking lady, in front of the building, until she reaches her destination.
Daniel Mercer is a Coffee Break section editor at Arch2O, currently based in Berlin, Germany. With a background in architectural history and design journalism, Daniel holds a Master’s degree from the University of Edinburgh, where he focused on modern architecture and urban theory. His editorial work blends academic depth with a strong grasp of contemporary design culture. Daniel has contributed to several respected architecture publications and is known for his sharp critique and narrative-driven features. At Arch2O, he highlights innovative architectural projects from Europe and around the world, with particular interest in adaptive reuse, public infrastructure, and the evolving role of technology in the built environment.